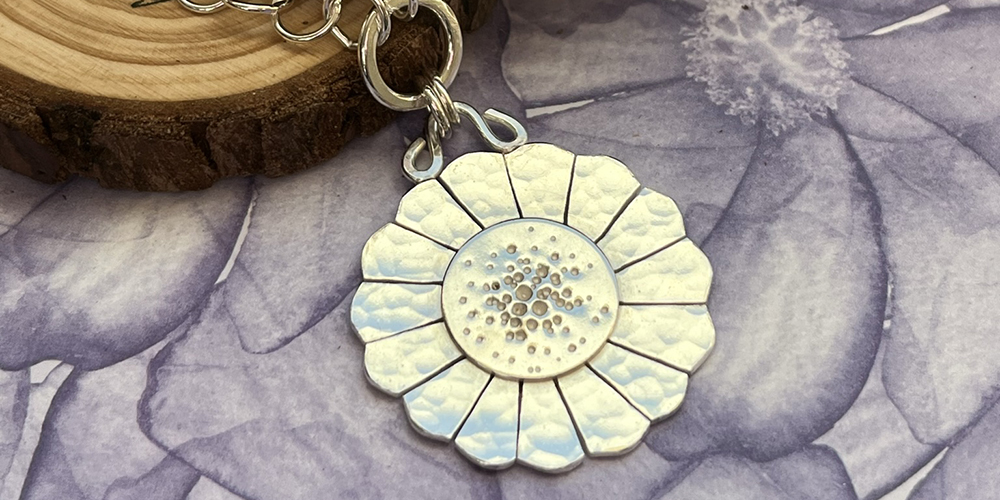
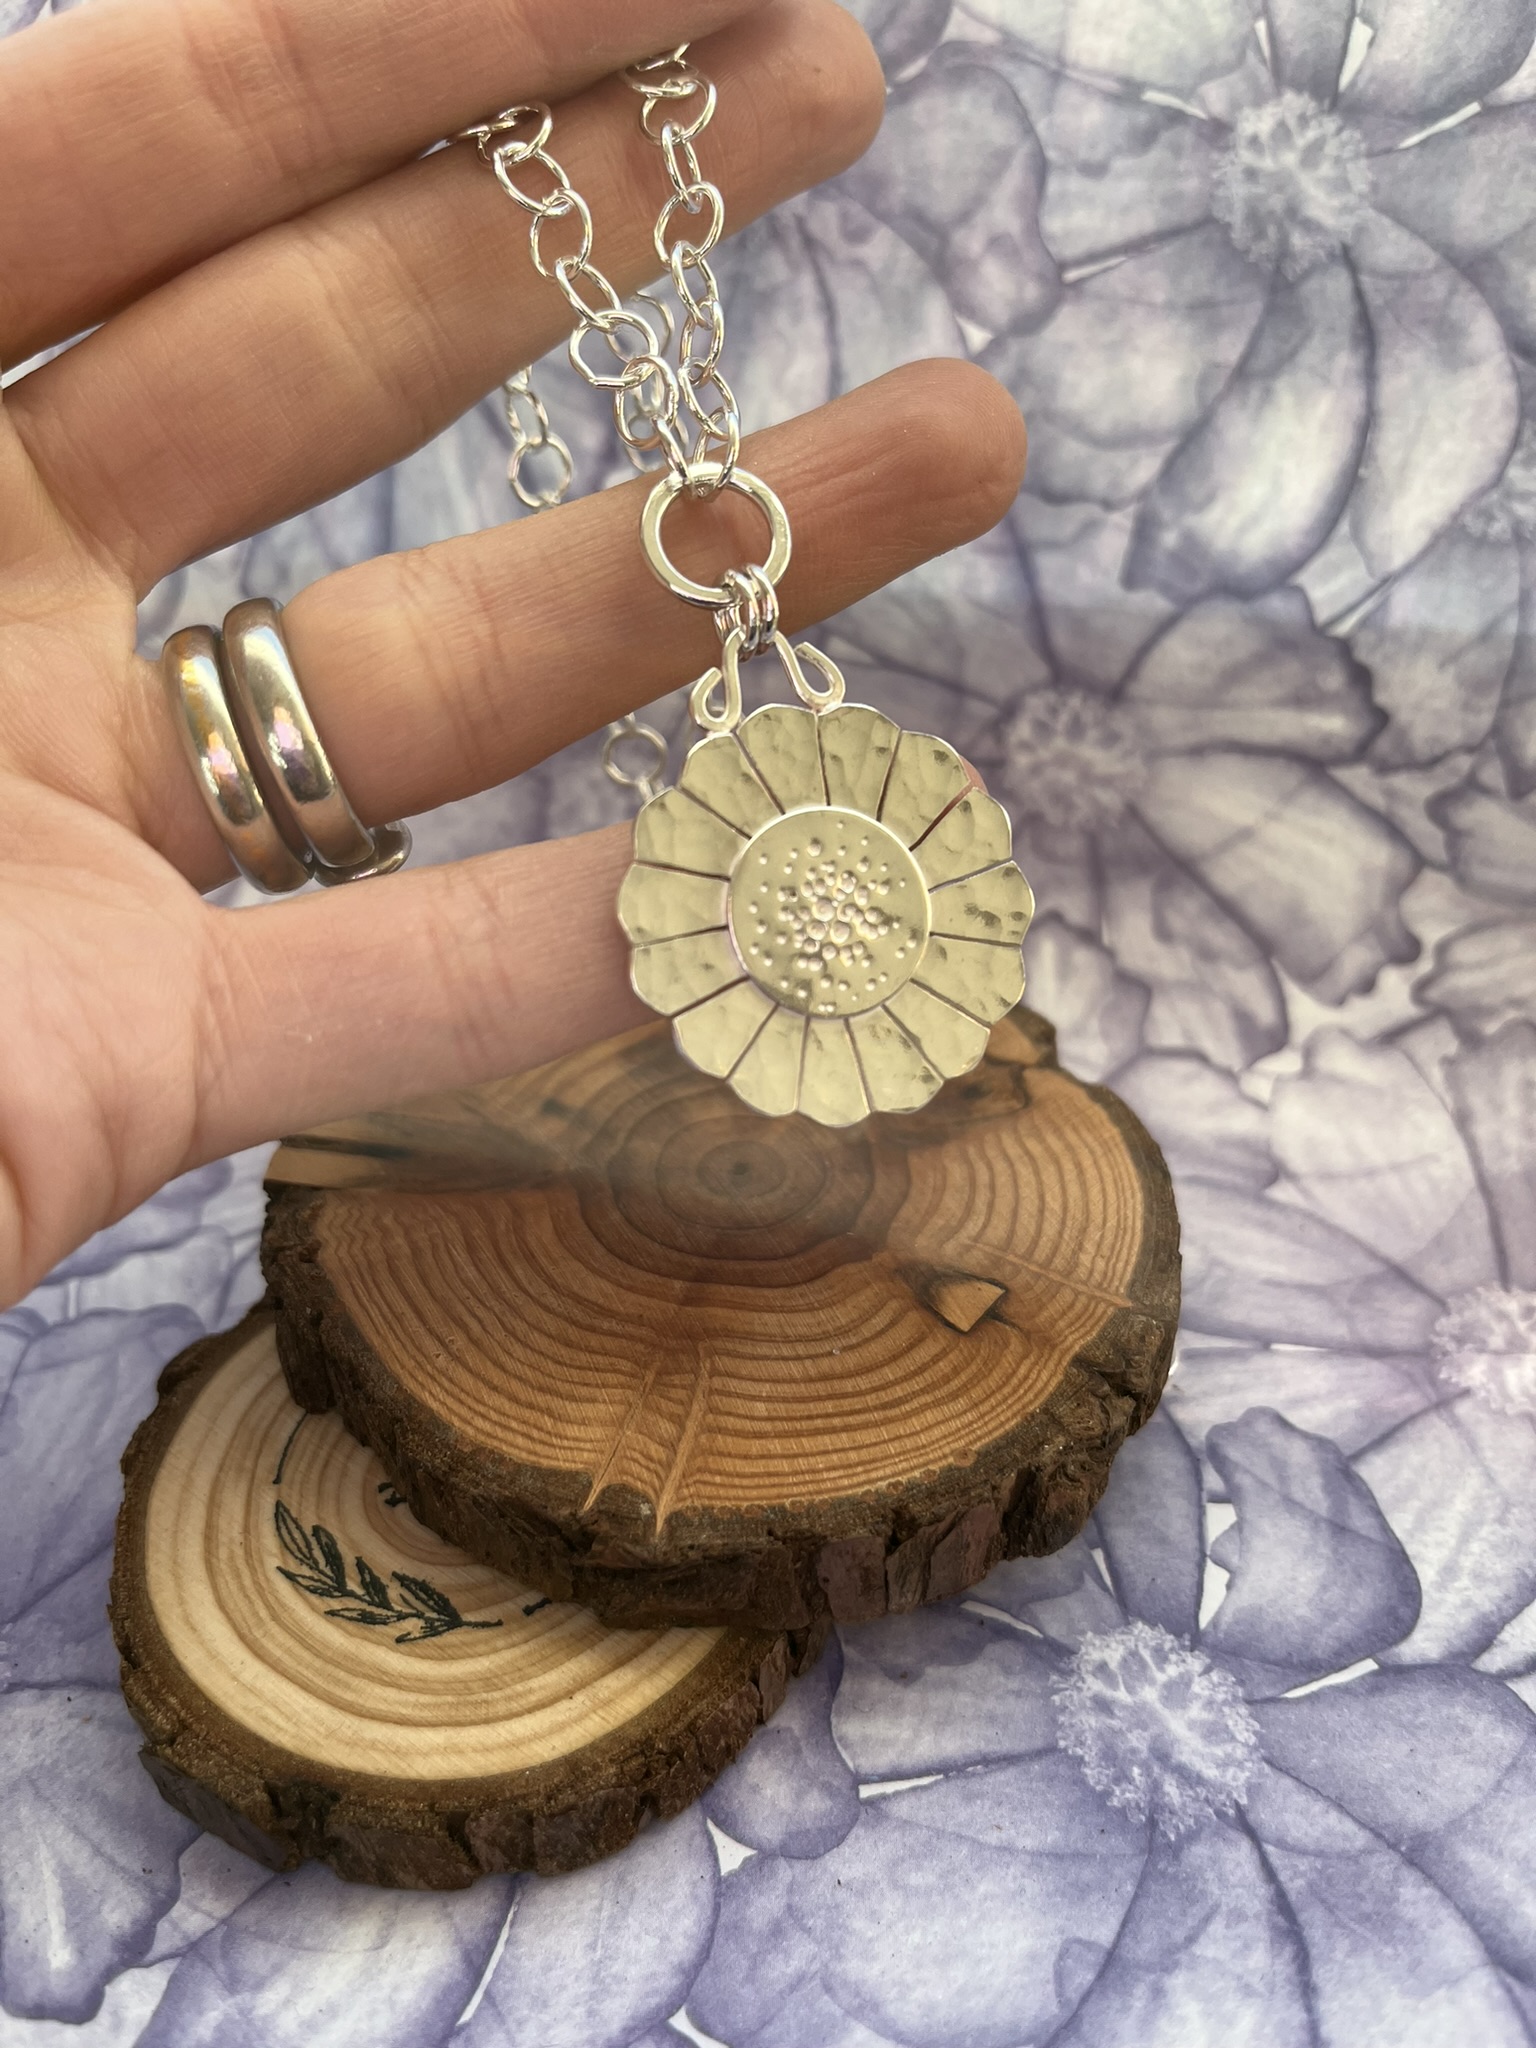
This flower necklace is a great opportunity for working with silver to create something beautiful this season.
Watch our Video How To
Step 1
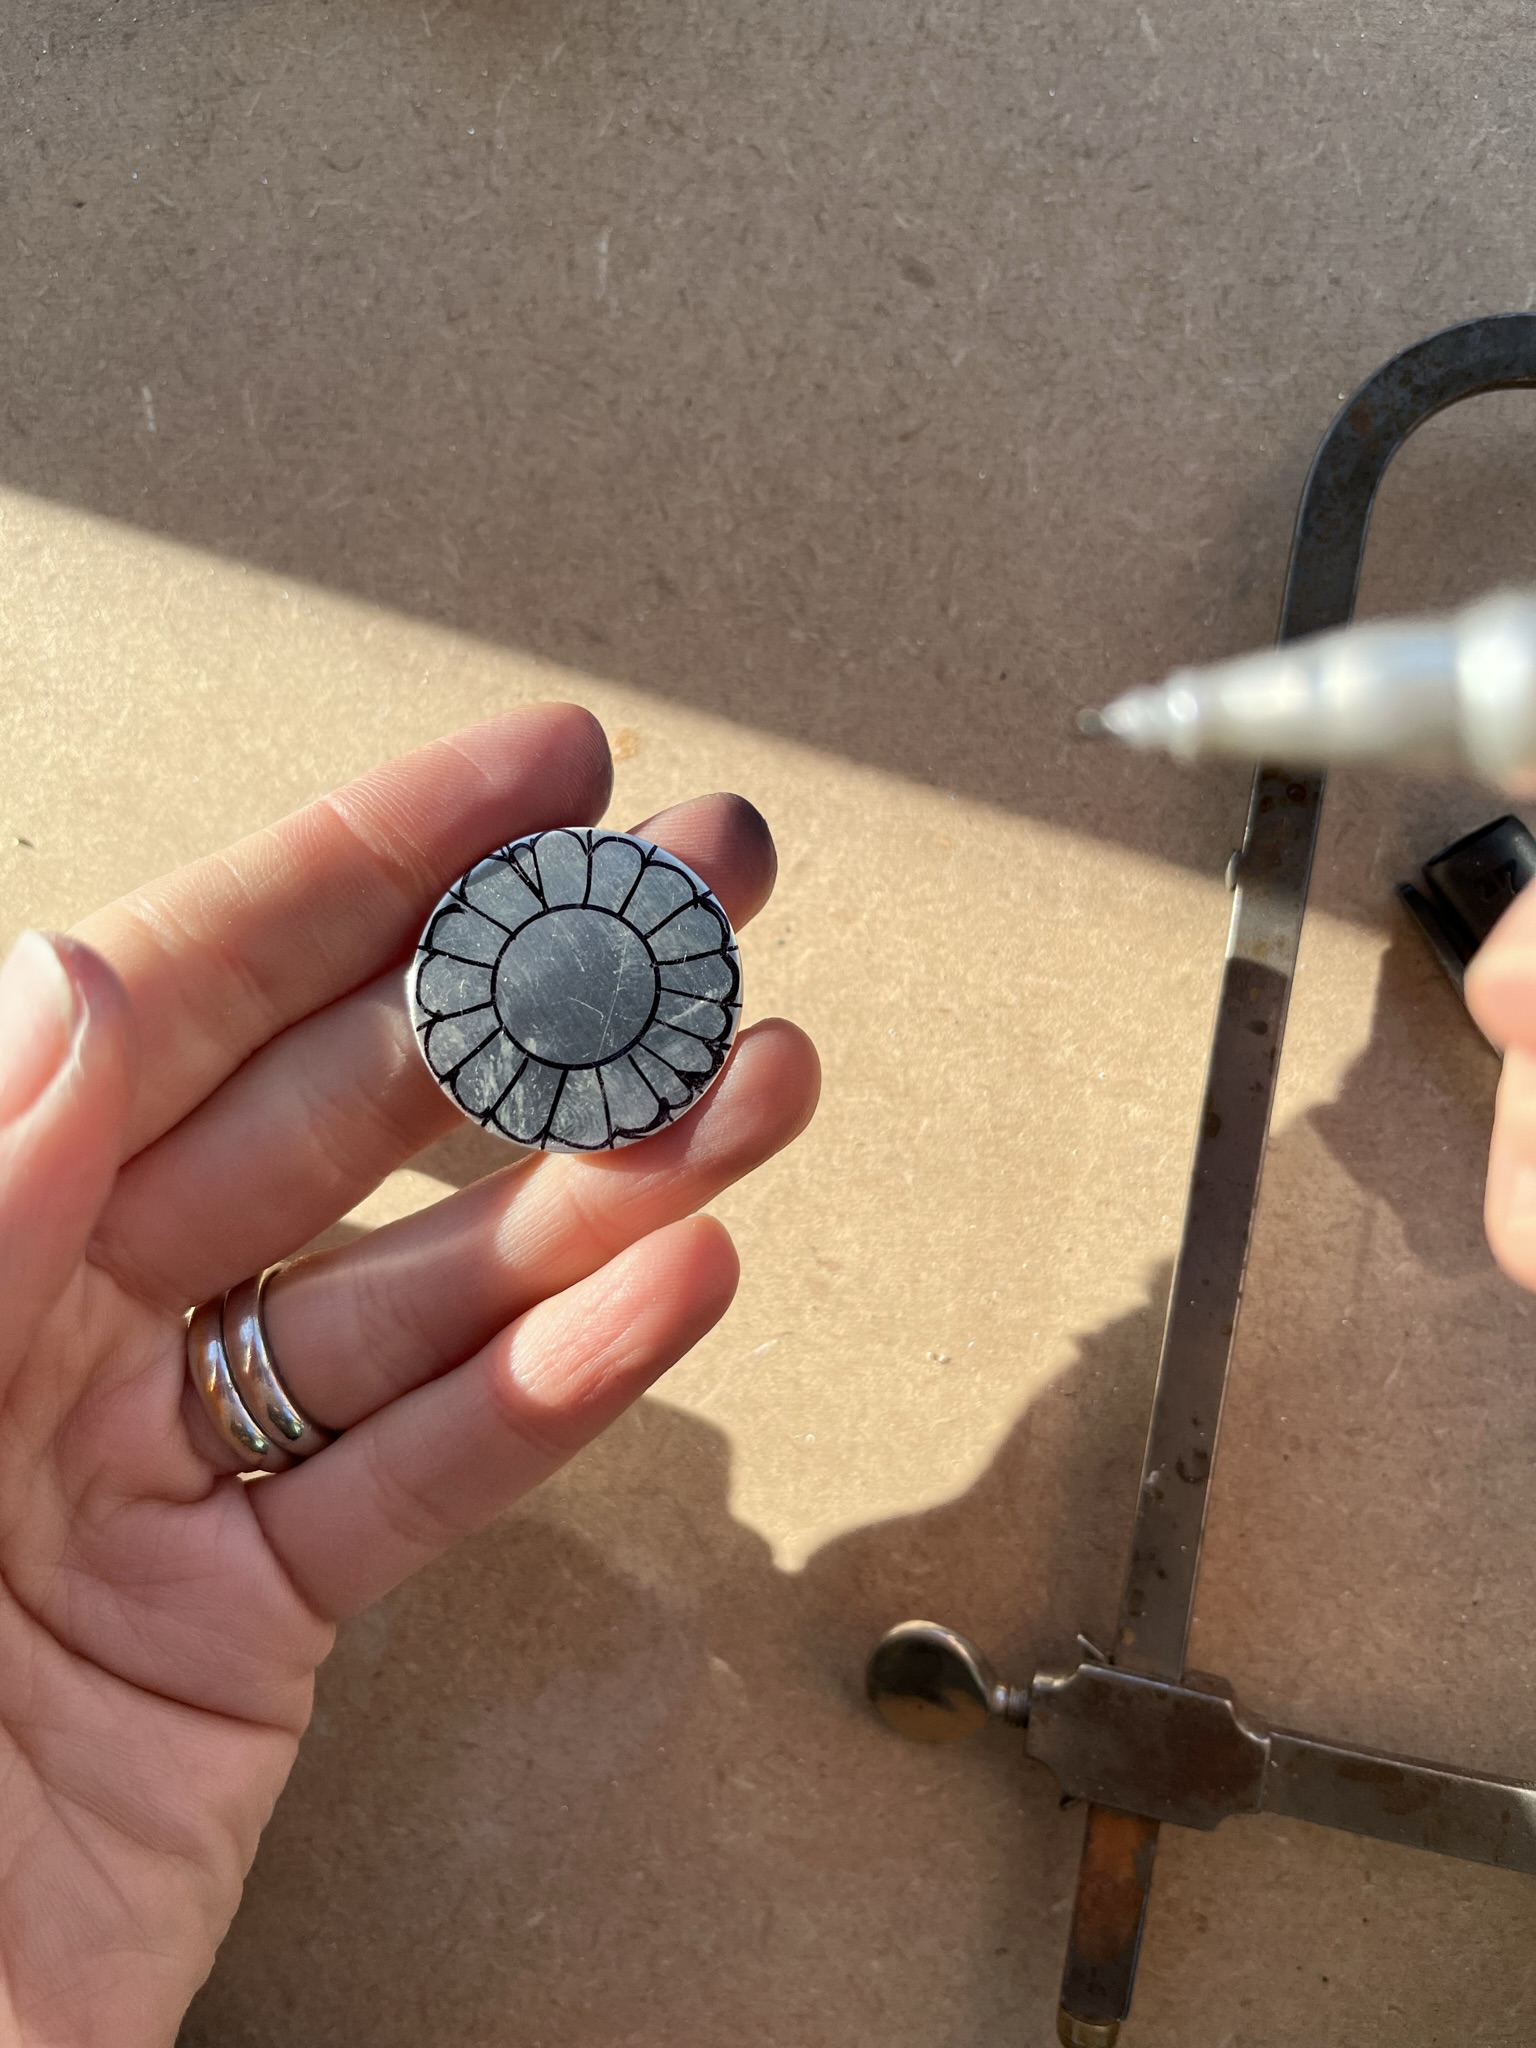
Place the 15mm disc on top of the 30mm disc in the middle and draw around using a sharpie pen or scribe.
Draw equally spaced lines from the inner circle shape to the edge of the larger disc.
Step 2
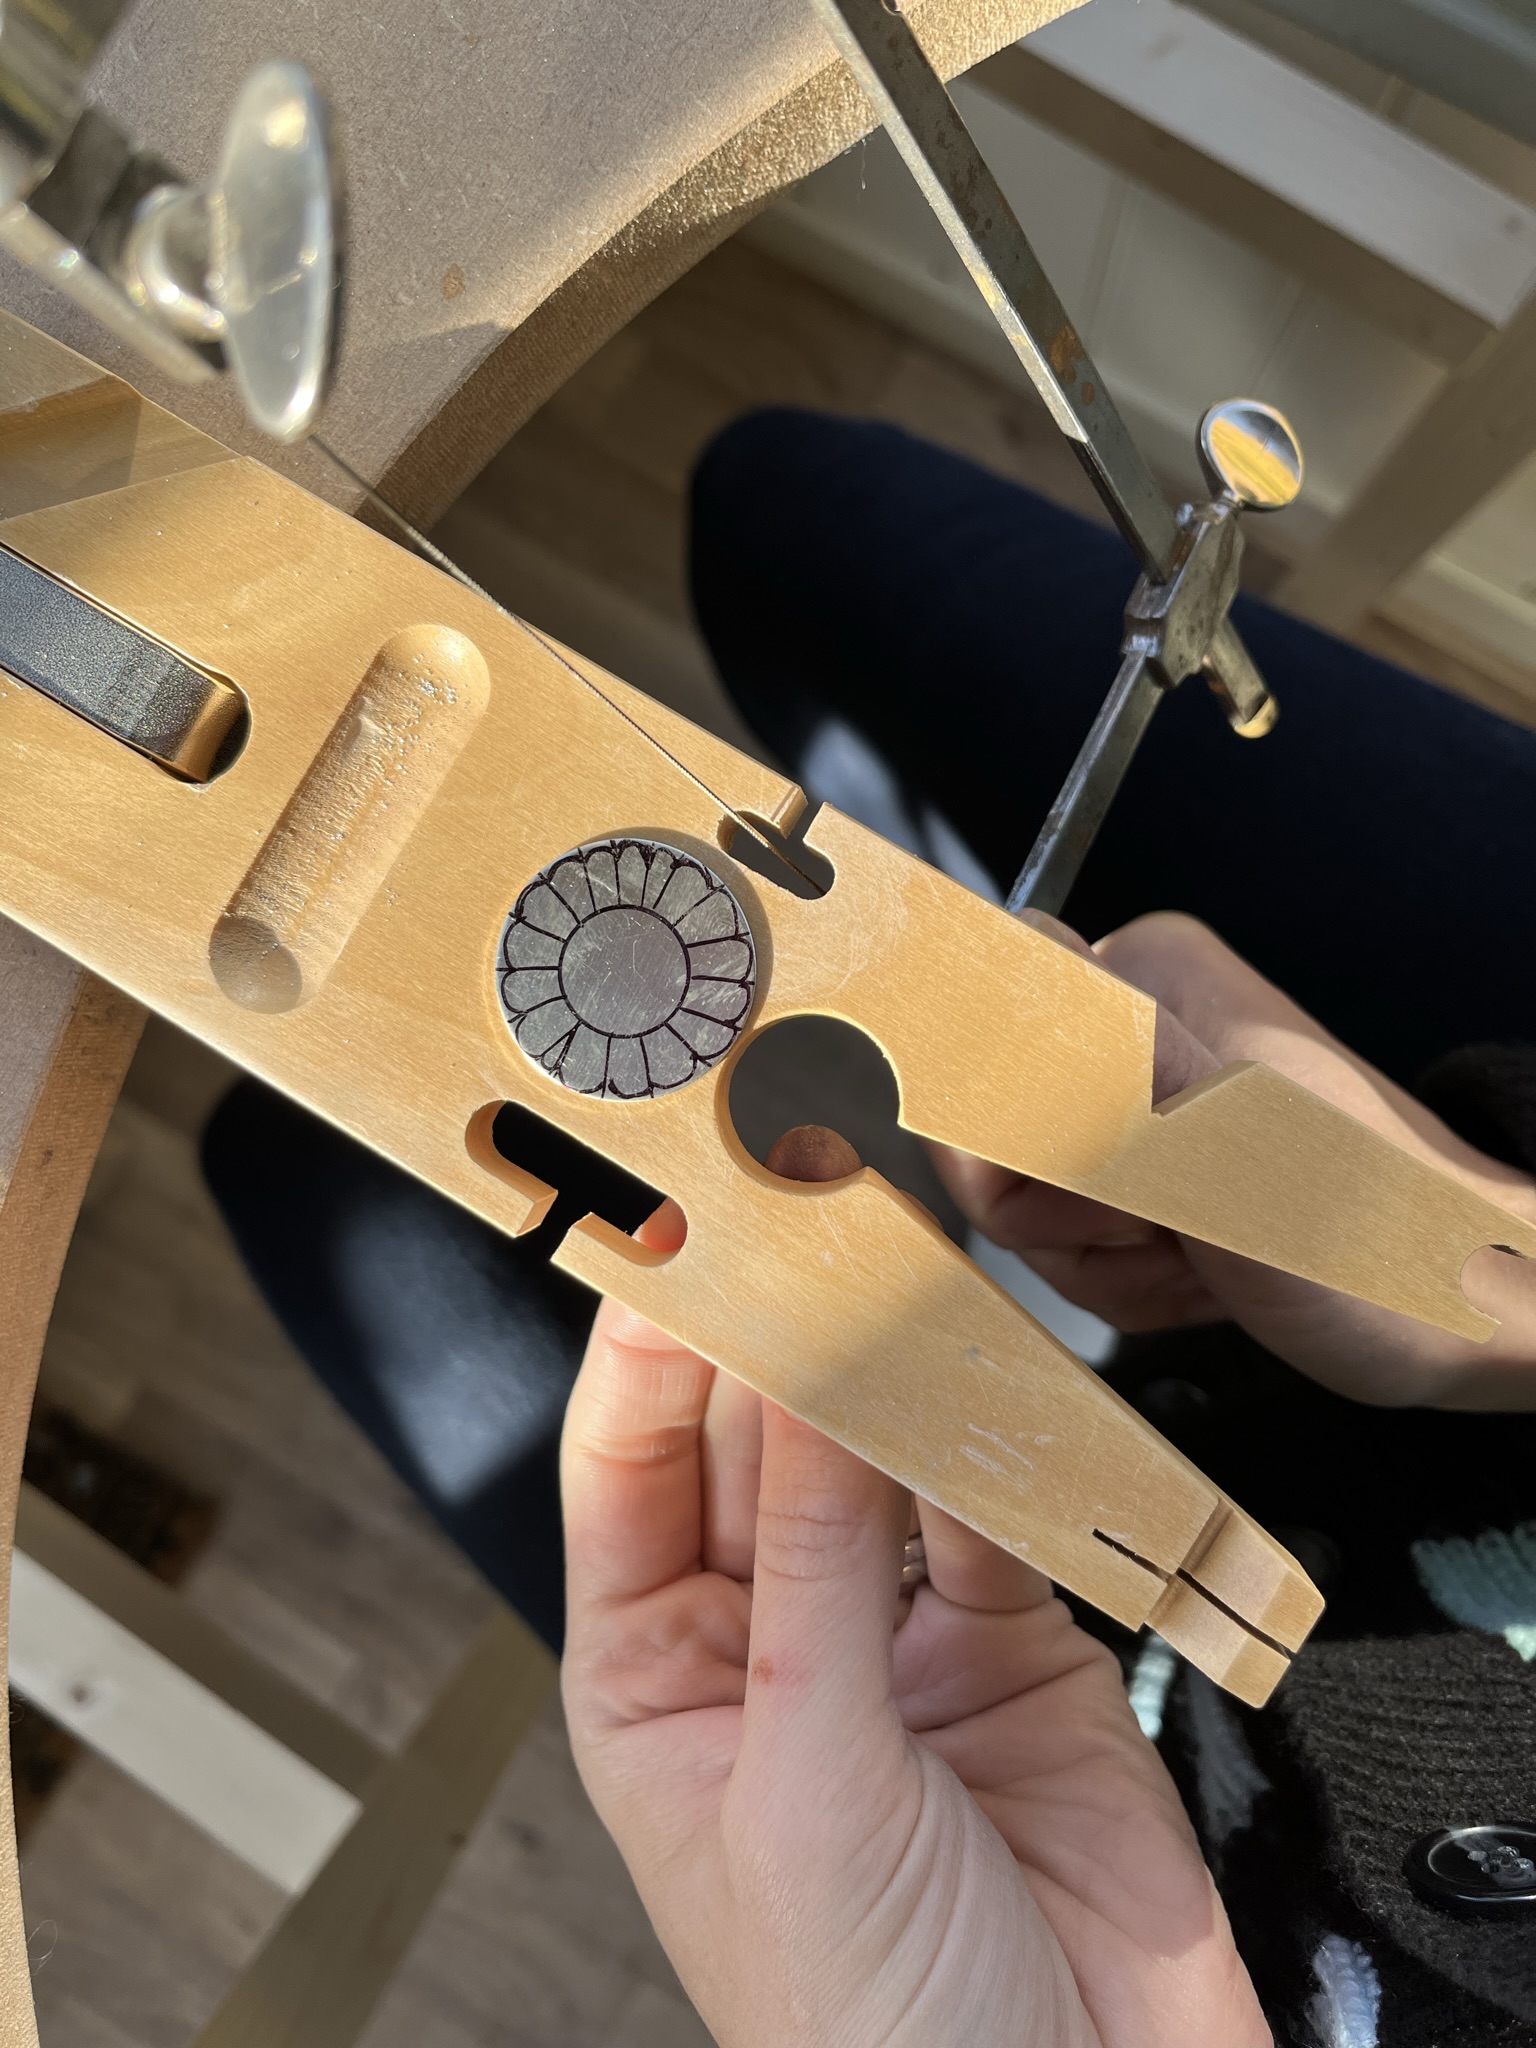
Using a piercing saw cut along each line.
Tip: You could use 3/0 or 4/0 saw blades and run the blade through a block of bees wax to help you saw smoothly.
Step 3
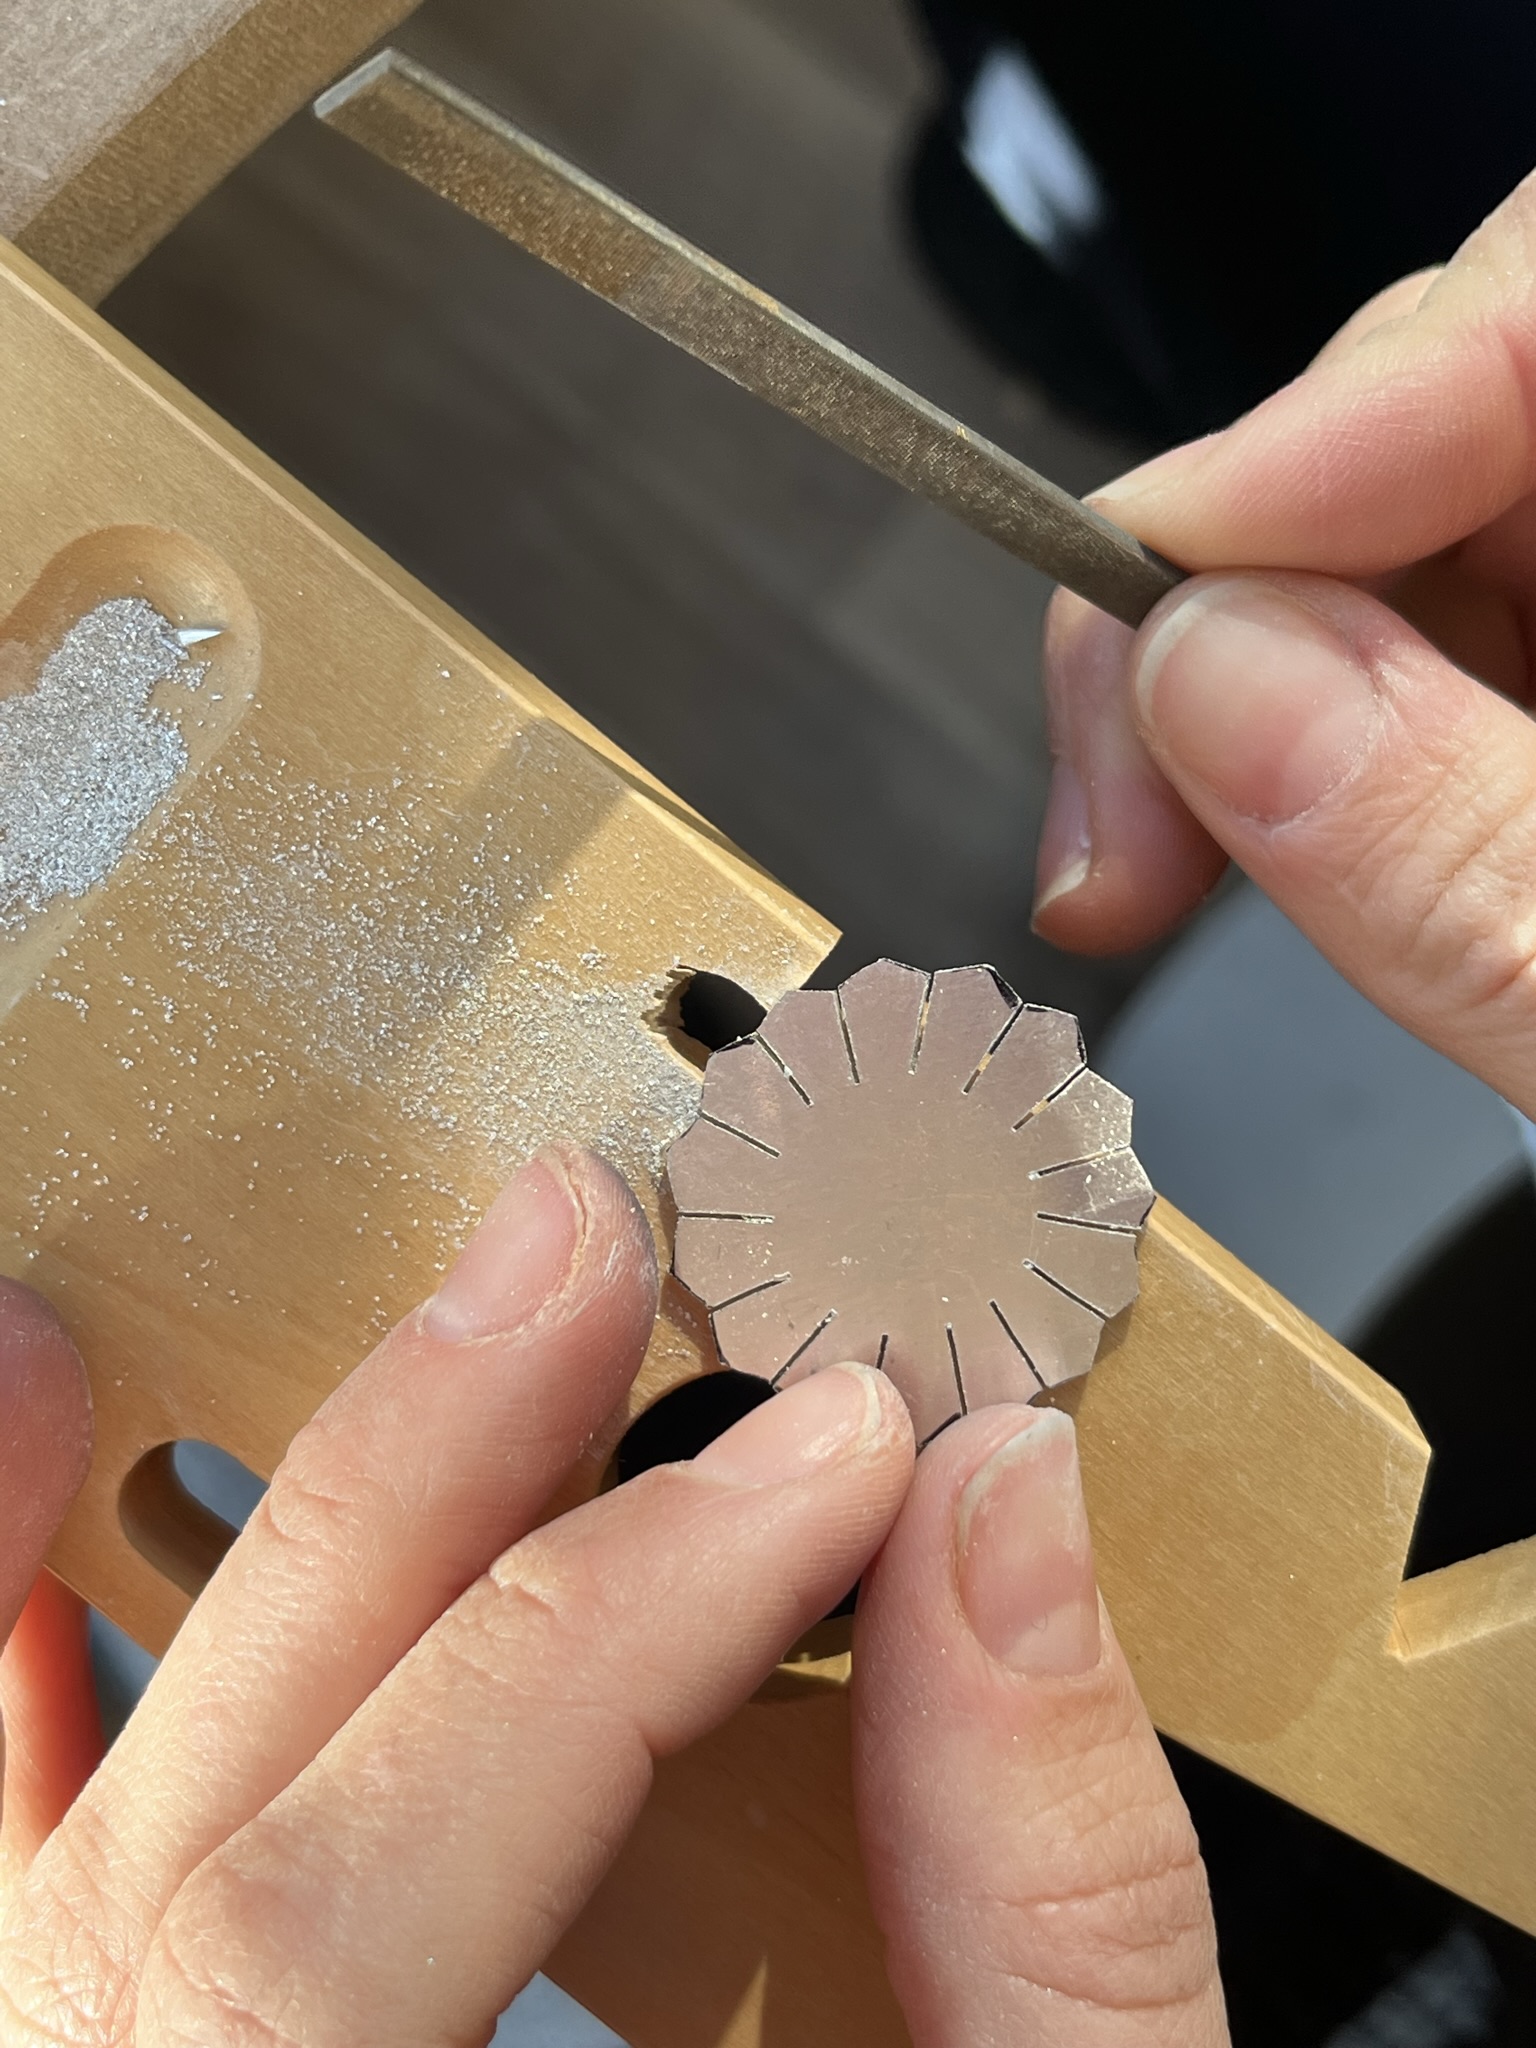
Between each pierced line draw a ‘V’ section and cut along these lines to remove these sections.
Use a needle file to file away the points of the petals and make them into smooth curves.
Use emery sticks or micromesh around the edges to smooth the shape.
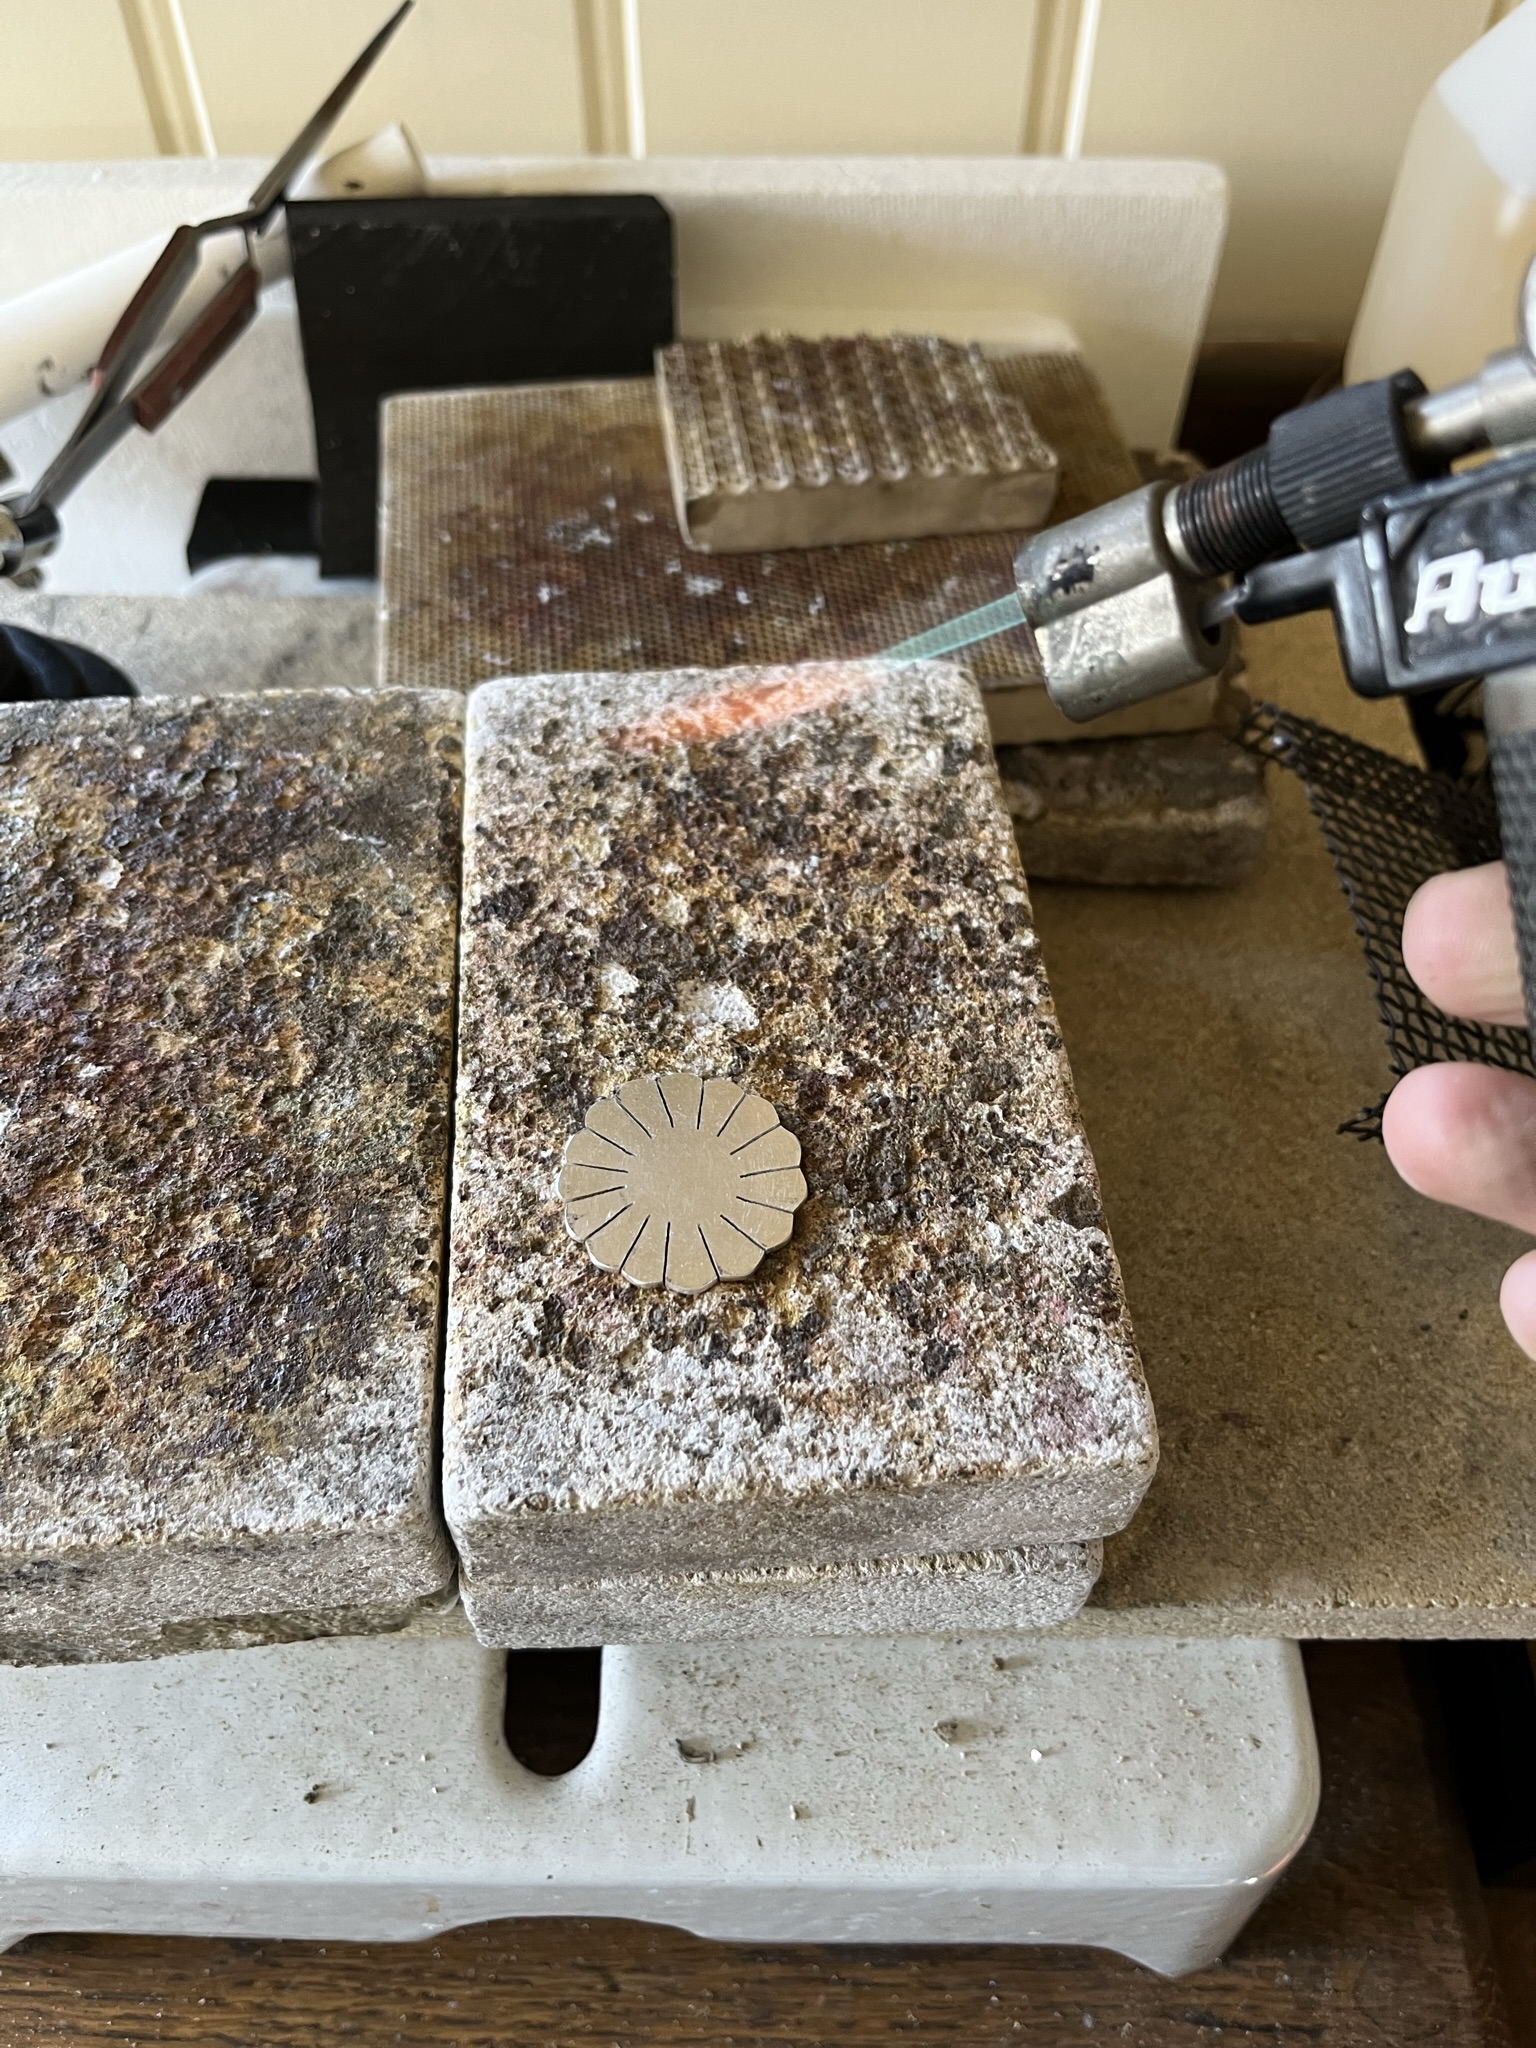
Step 4
Place the 30mm disc on a soldering block. Using a hand blow torch move the flame around the disc until it gently glows red and is annealed.
Leave the disc to cool a little and then use tweezers to pick it up and quench (cool) in water and then add to a warm safety pickle solution.
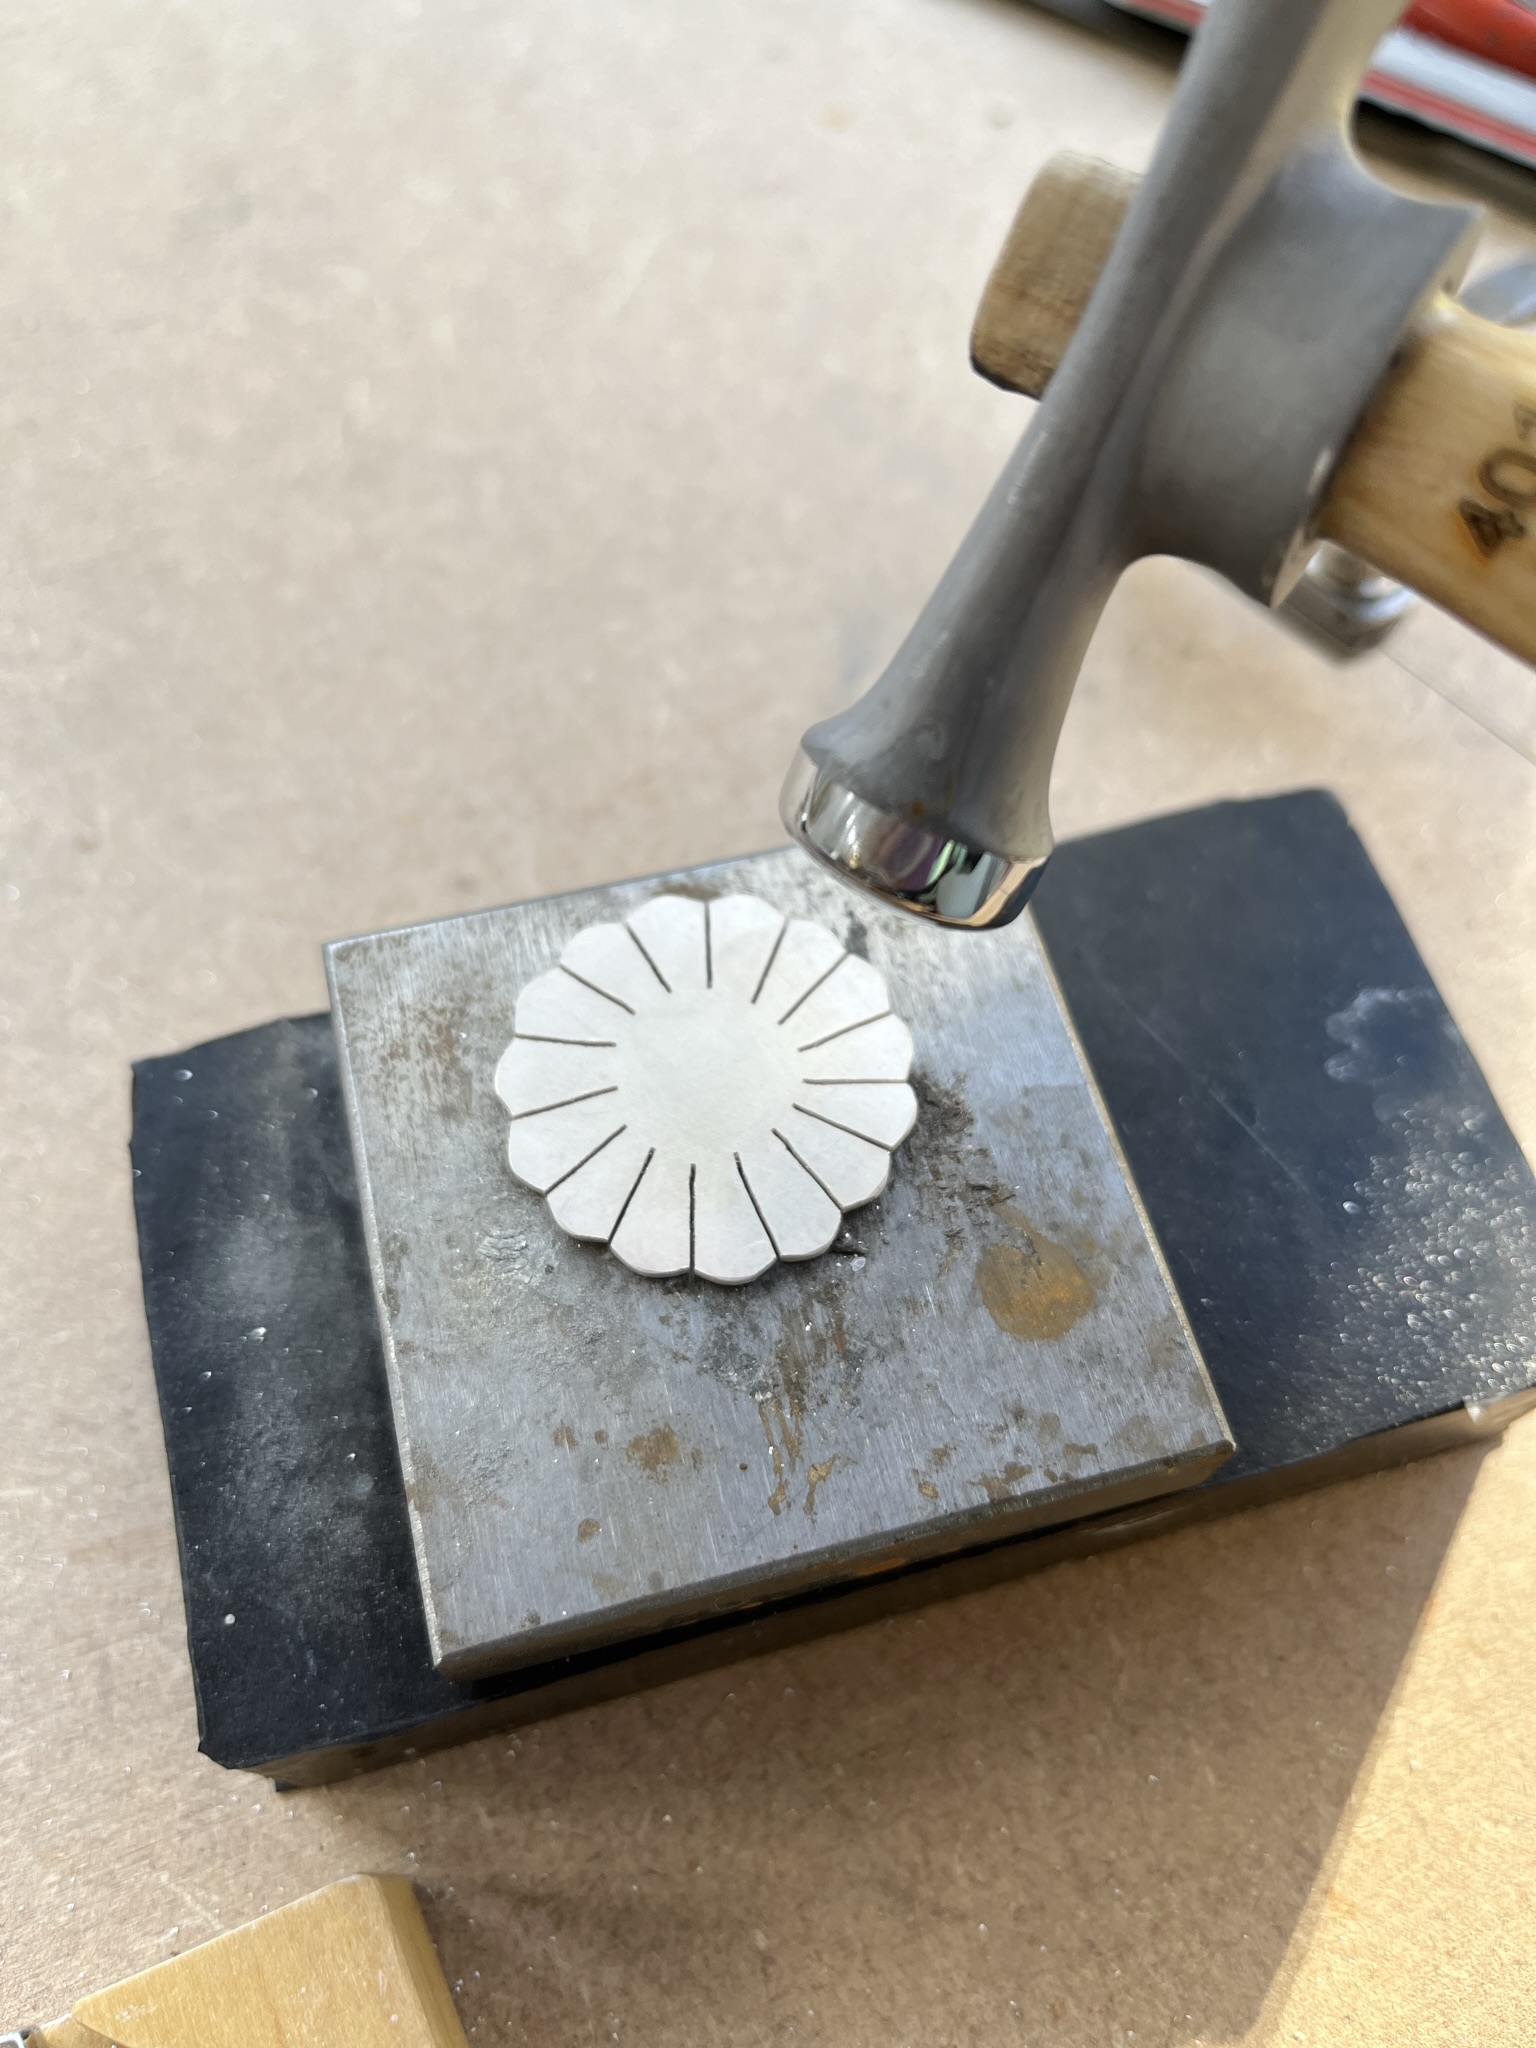
Step 5
Place the 30mm disc on a steel block and use the ball end of a hammer to add rounded dents to the disc texturing it all over gently.
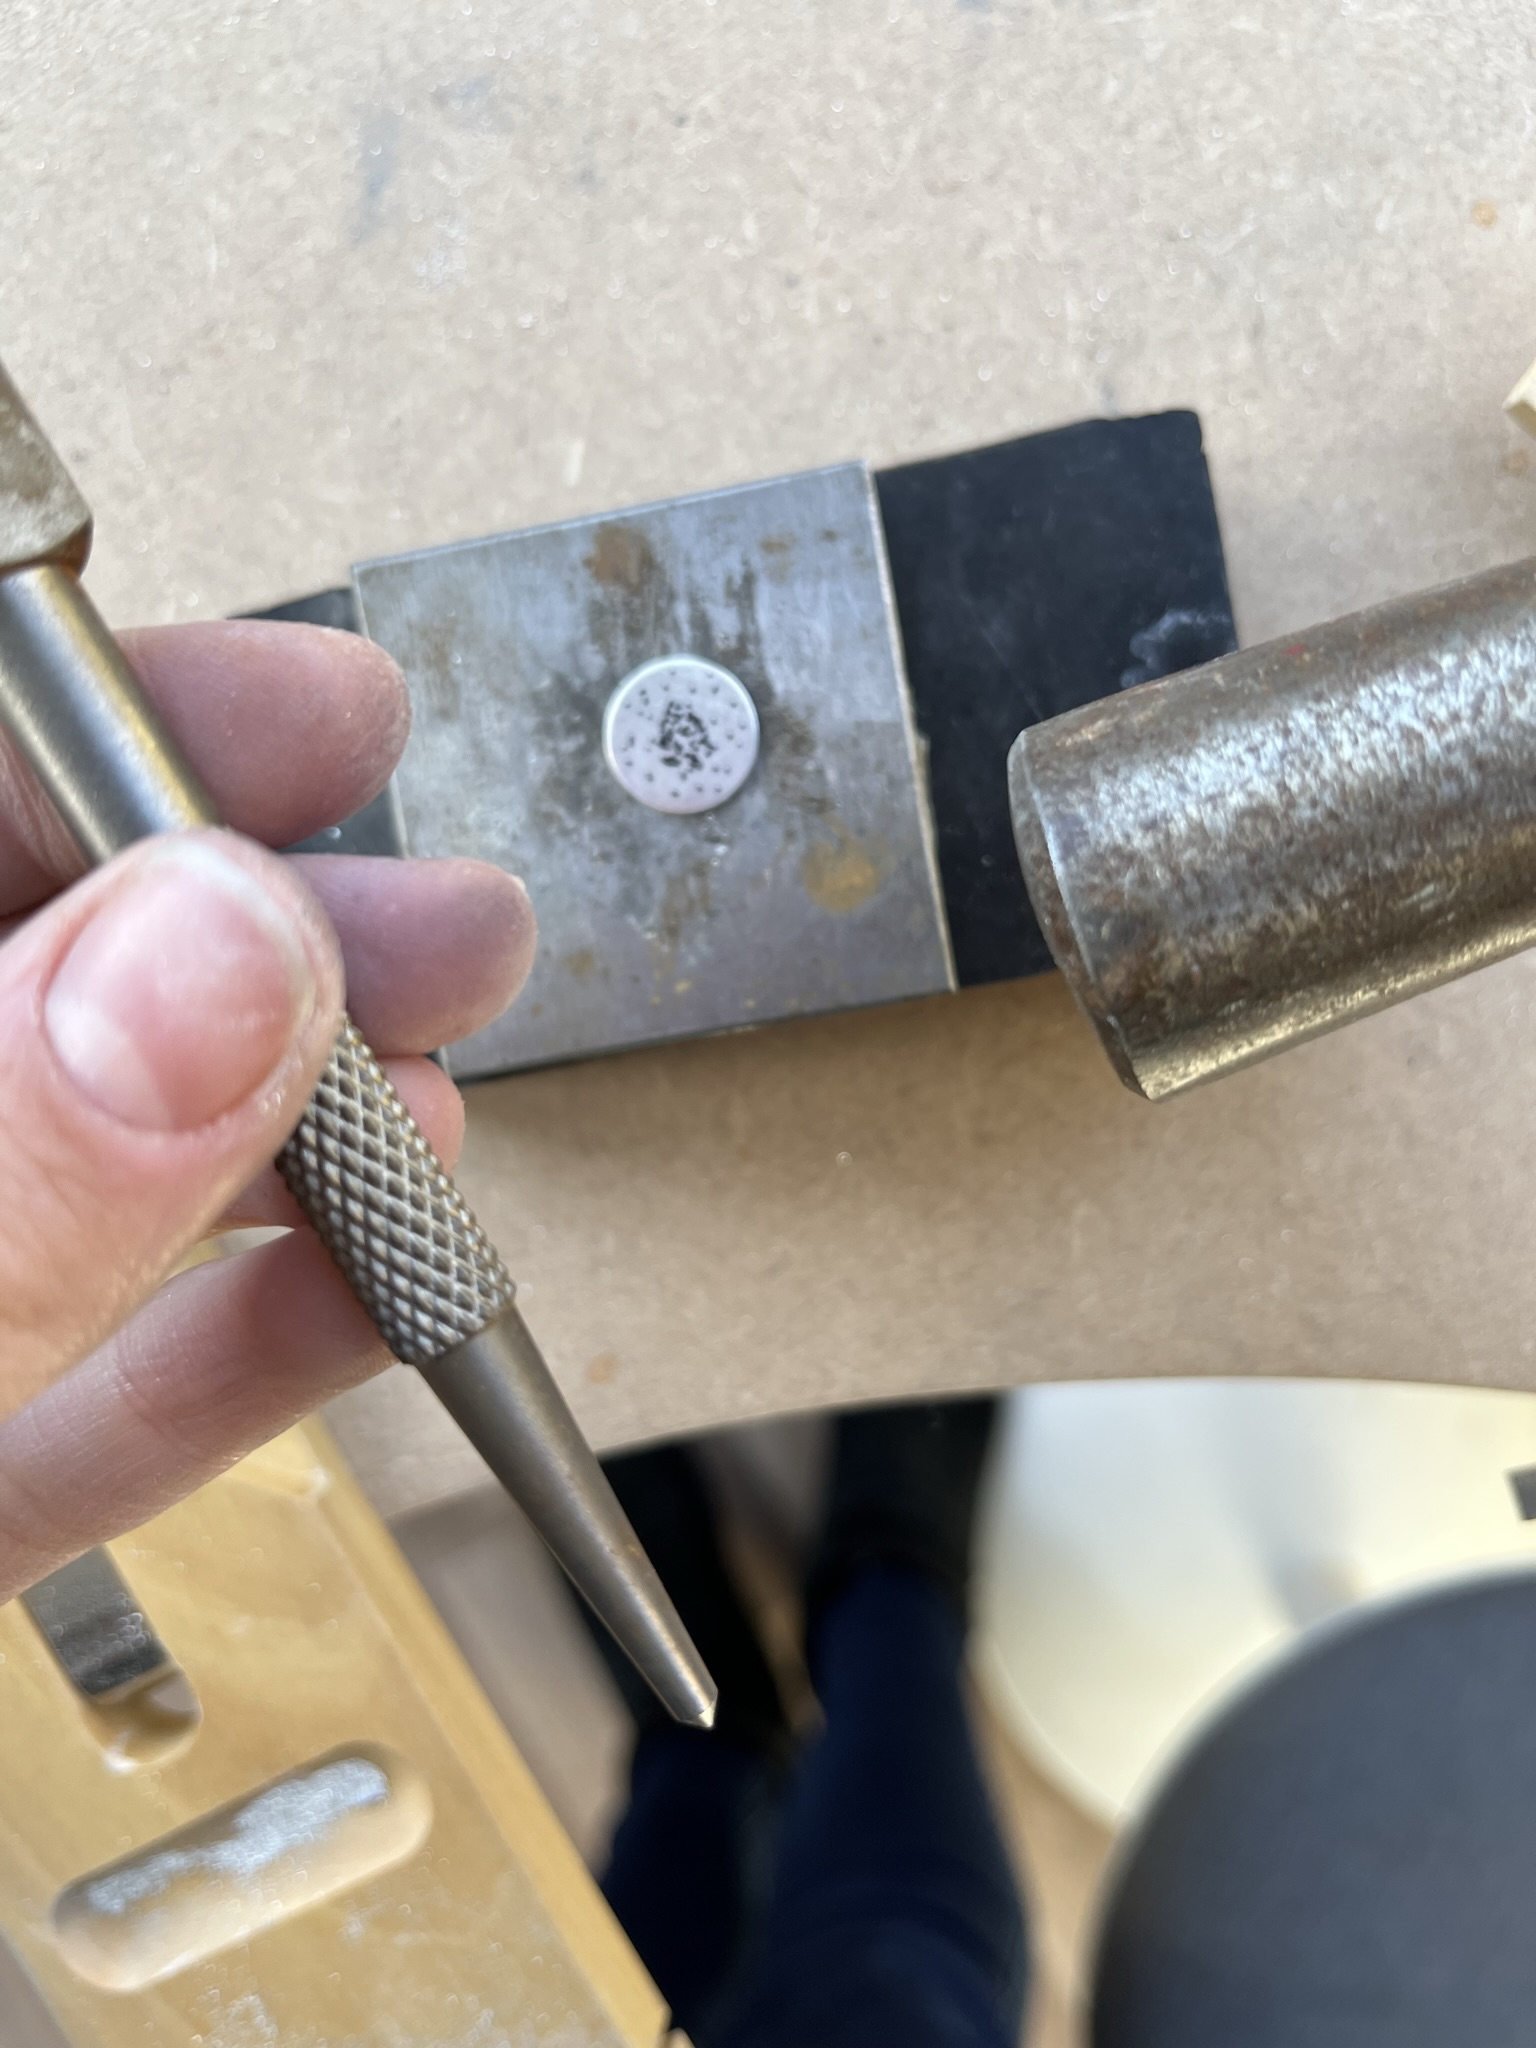
Step 6
Place the 14mm disc on the steel block and place the centrepunch point side down on the disc. Strike the top of the centrepunch with a household hammer to add a ‘dot’. Repeat this moving the centrepunch to another part of the disc to add a cluster of dots on the disc.
Tip: Hit the centrepunch with different amounts of force to add small light dots and larger deeper dots.
You could practice adding dots with the centrepunch on a piece of copper first.
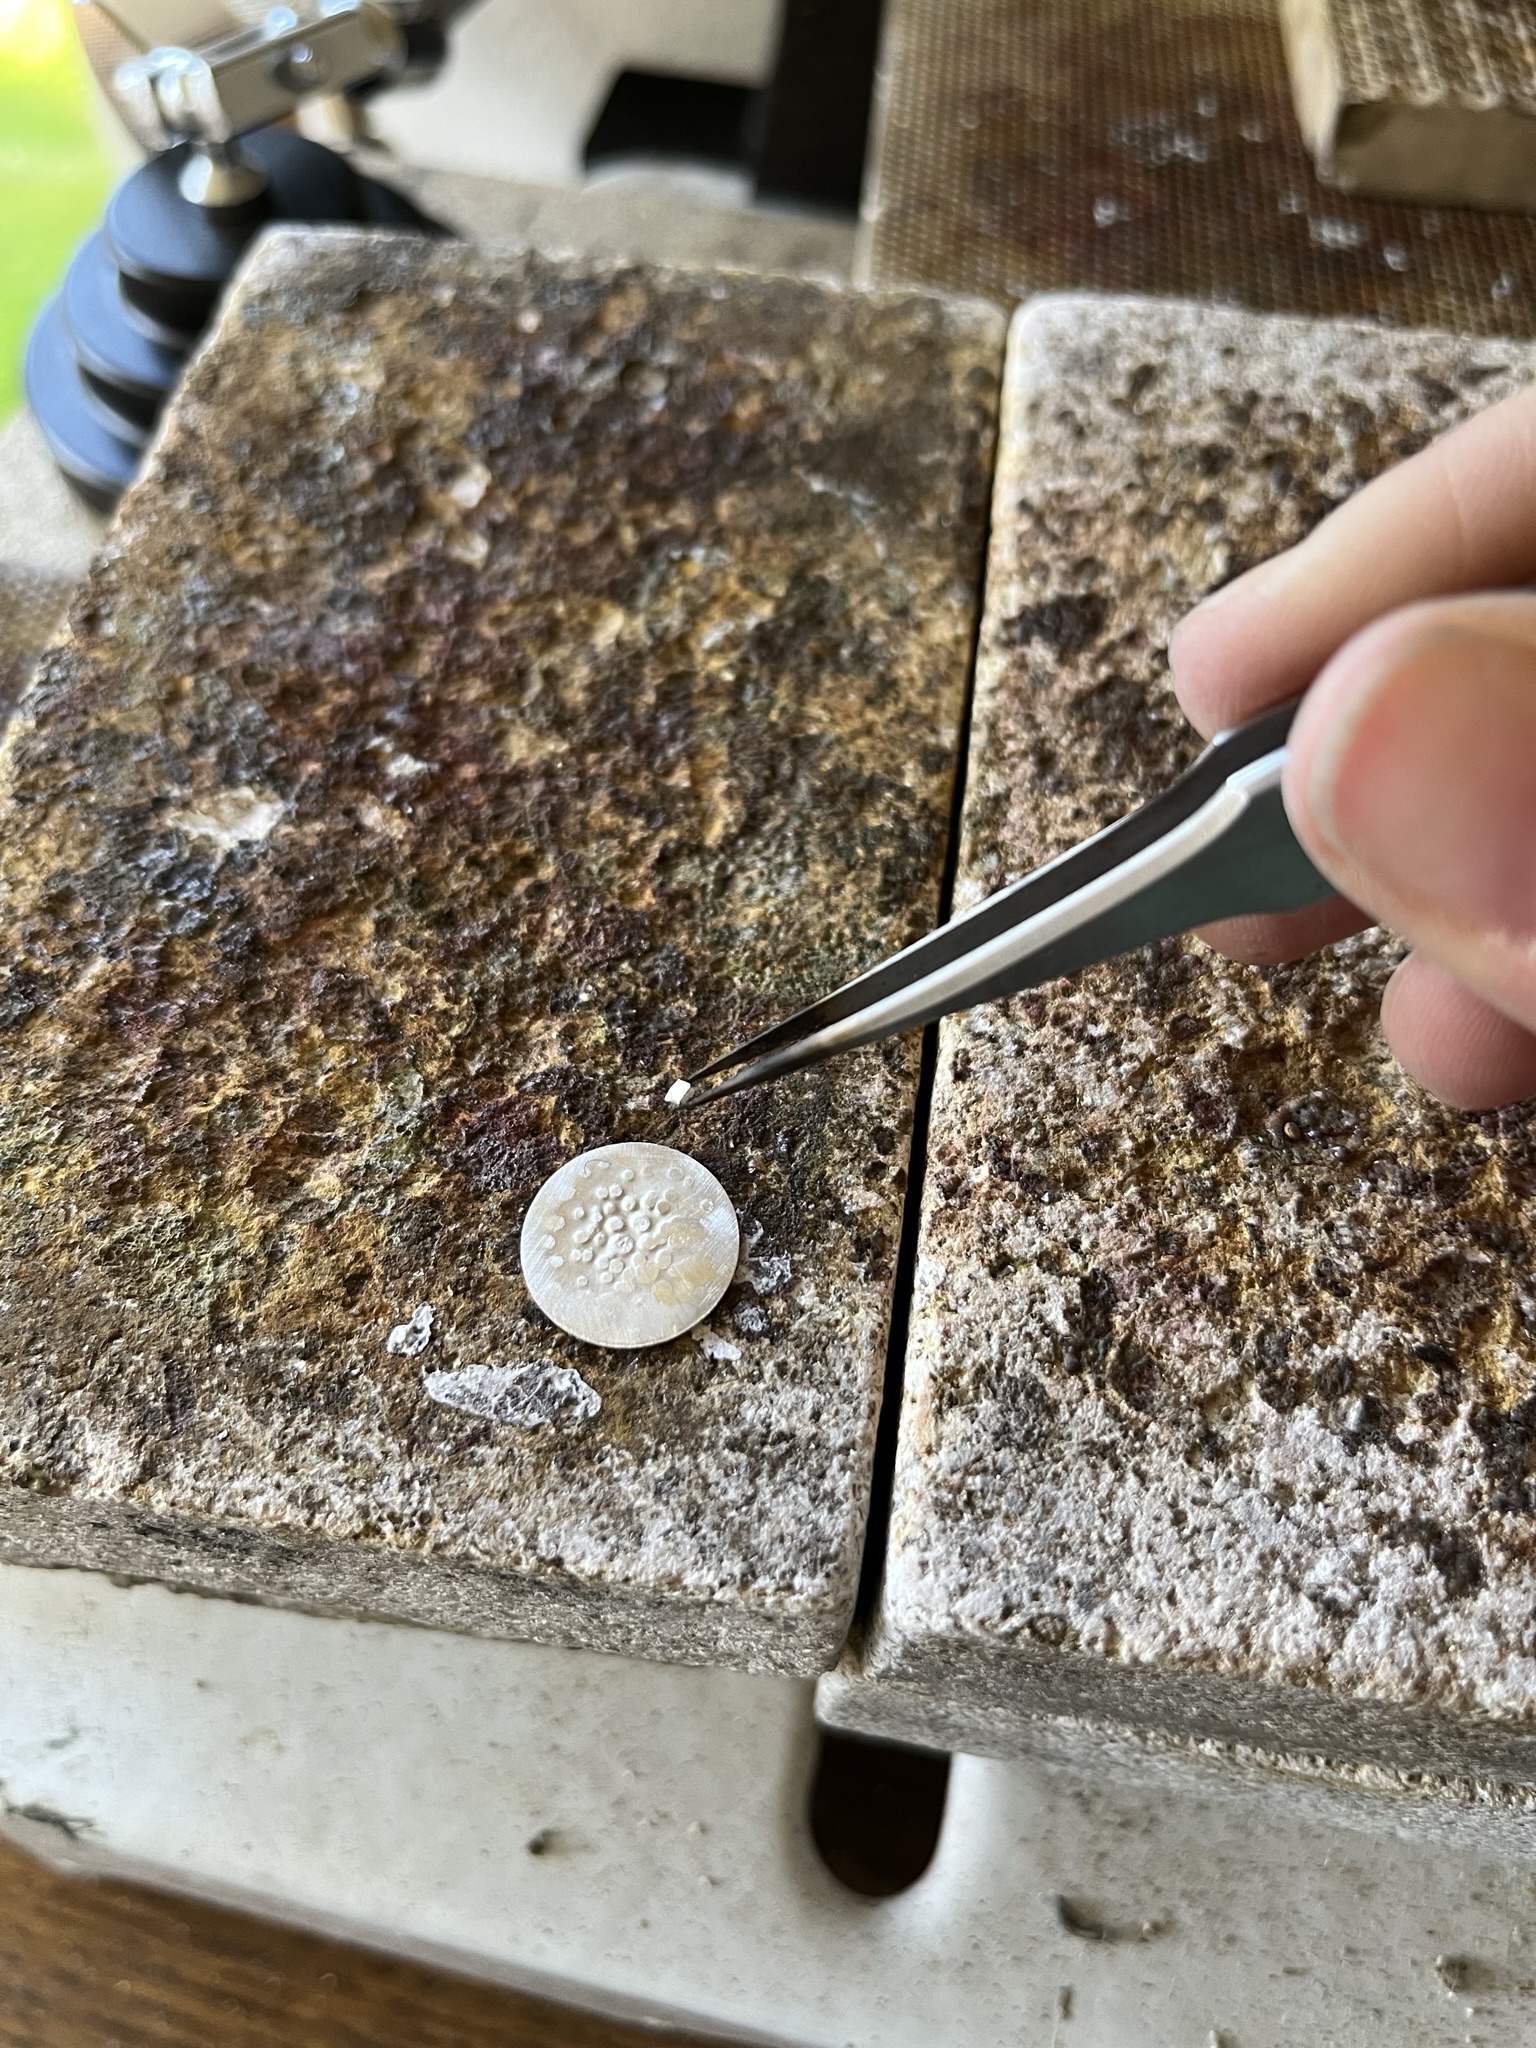
Step 7
Using an emery stick or micromesh gently rub the reverse of the 14mm silver disc to remove any dirt or grease and place face down on a soldering block.
Using a borax dish and cone add a little water and create a creamy white flux paste. Add this to the reverse of the 14mm disc using a paint brush.
Cut 5-6 small pieces of hard solder and place on the reverse of the disc.
Using a hand blow torch heat the disc evenly until the solder melts and flows.
Leave the disc to cool a little and then use tweezers to pick it up and quench (cool) in water and then add to a warm safety pickle solution.
Tip: You could also use solder paste (easy, med or hard) to solder the 2 pieces of silver together by covering the underside of the disc in the paste and placing it on top of the flower shape. Heat both parts evenly with your blowtorch until the solder paste melts and flows.
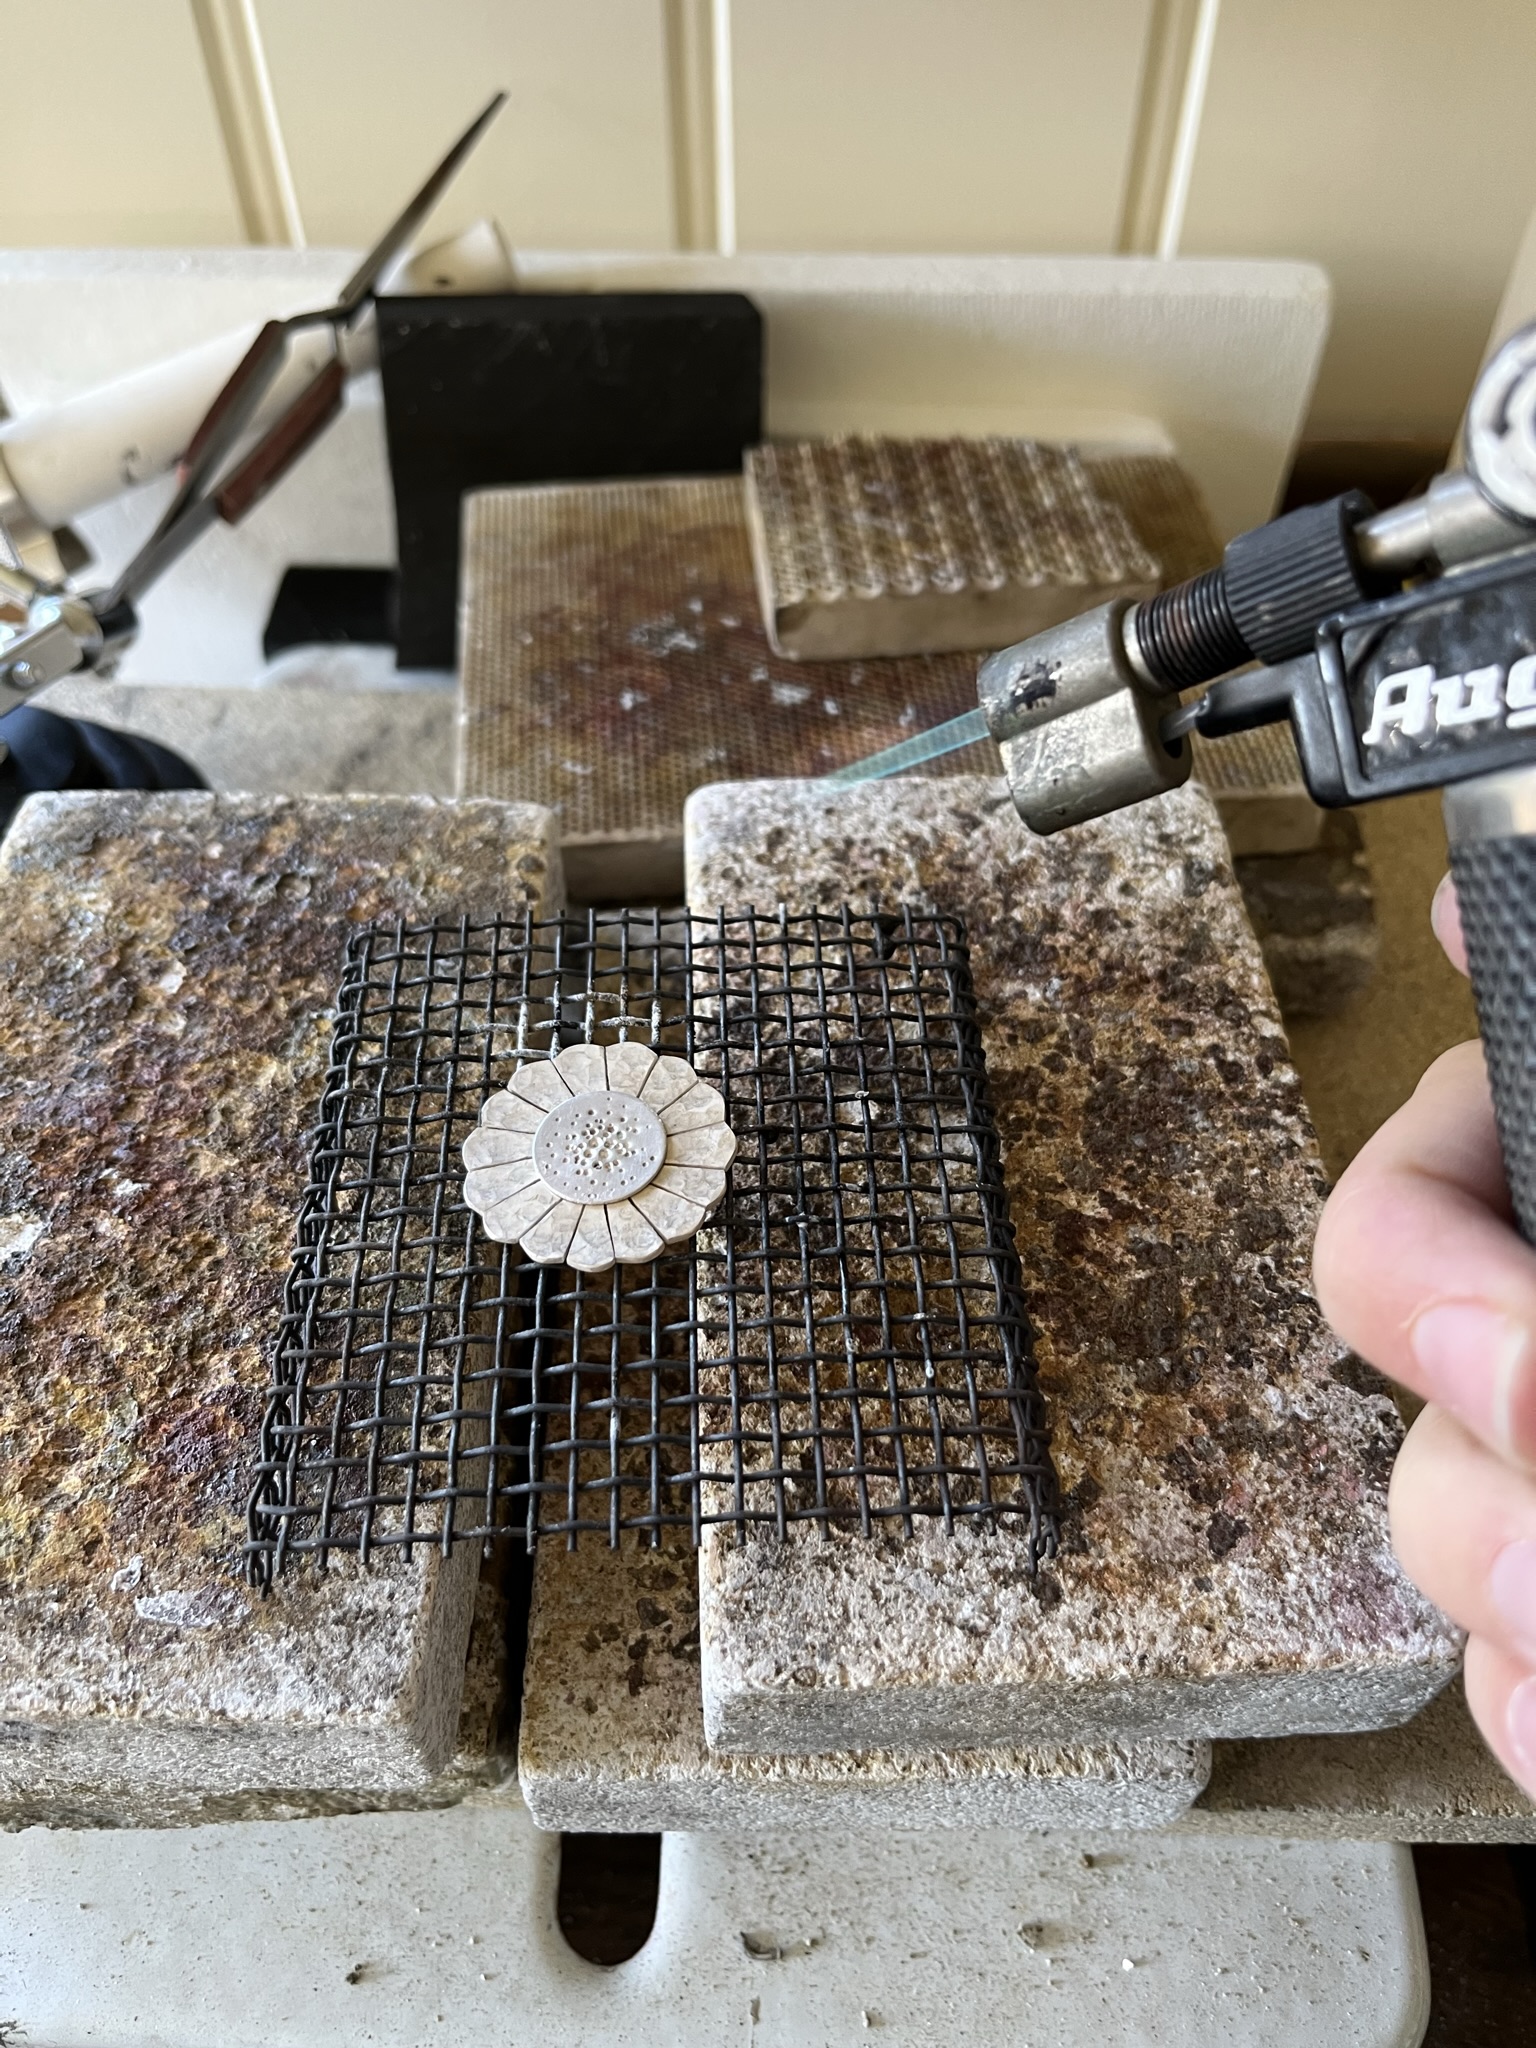
Step 8
When clean and dry place the 30mm disc on the soldering block, add flux to the centre and then place the 14mm disc on top.
Using a hand blow torch heat the disc evenly until the solder melts and flows. This is called sweat soldering.
Leave the flower to cool a little and then use tweezers to pick it up and quench (cool) in water and then add to a warm safety pickle solution.
Step 9
Place the 1mm wire on a soldering block. Using a hand blow torch move the flame up and down the wire until the wires gently glow red and is annealed.
Leave the wire to cool a little and then use tweezers to pick up the wire and quench (cool) in water and then add to a warm safety pickle solution.
When clean and dry use a micromesh board or emery stick to file around the ends of each wire so they are smooth and even.
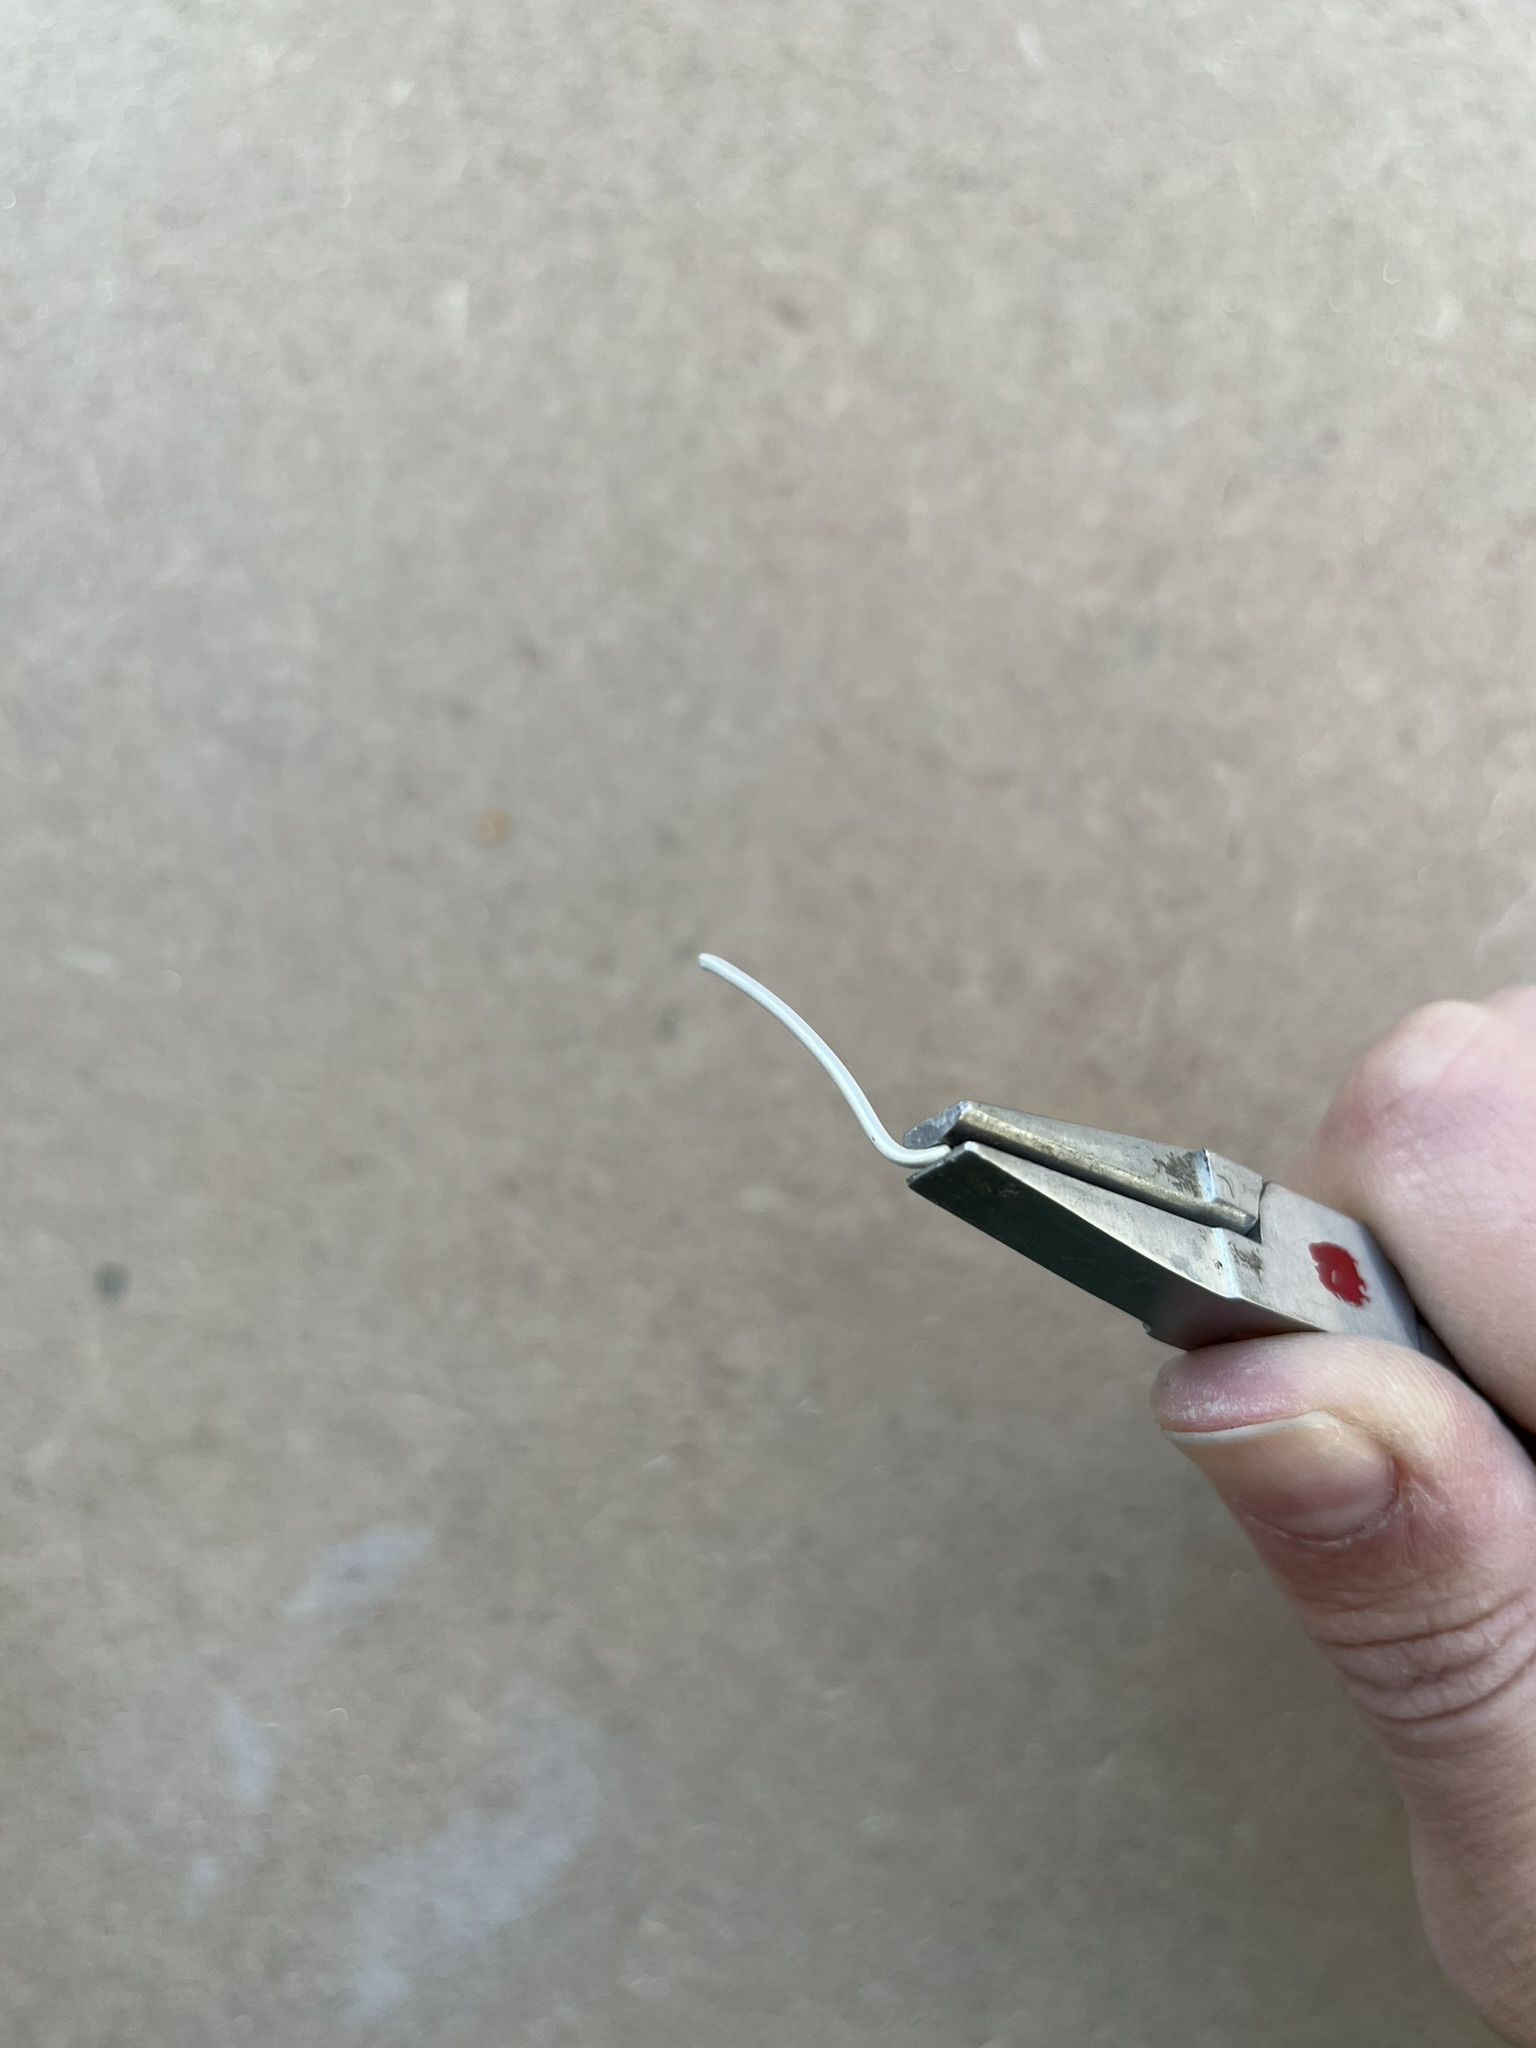
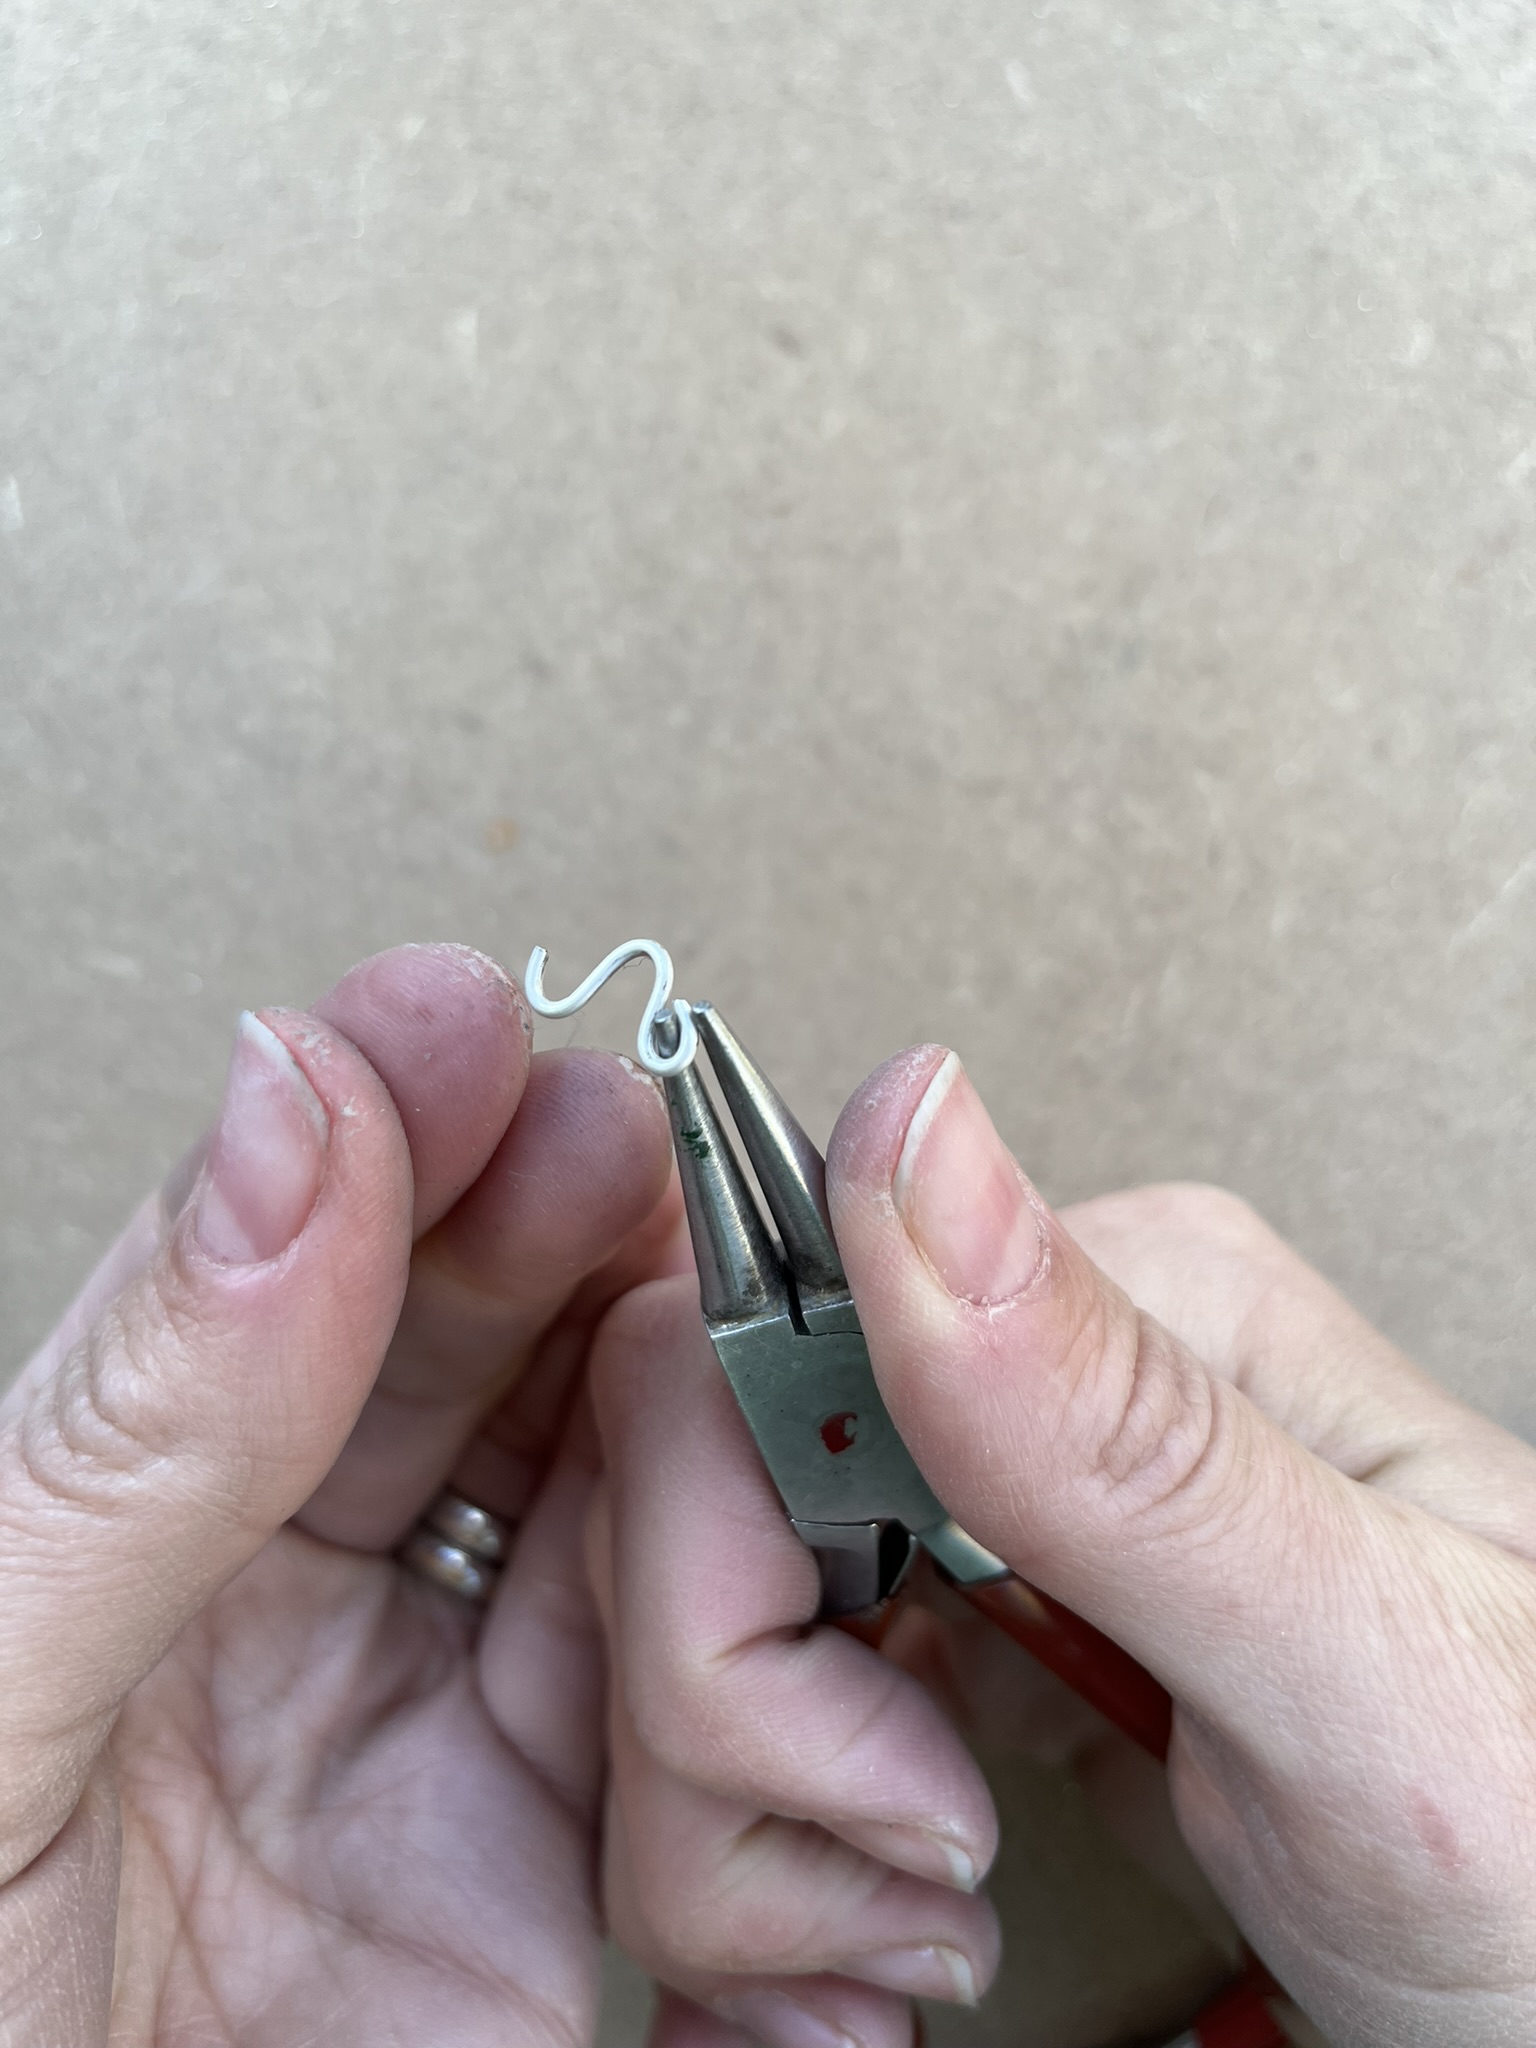
Step 10
Use round nose pliers to bend each wire end up to create a loop and bend the wire in the middle. This shape will be the bail of the flower.
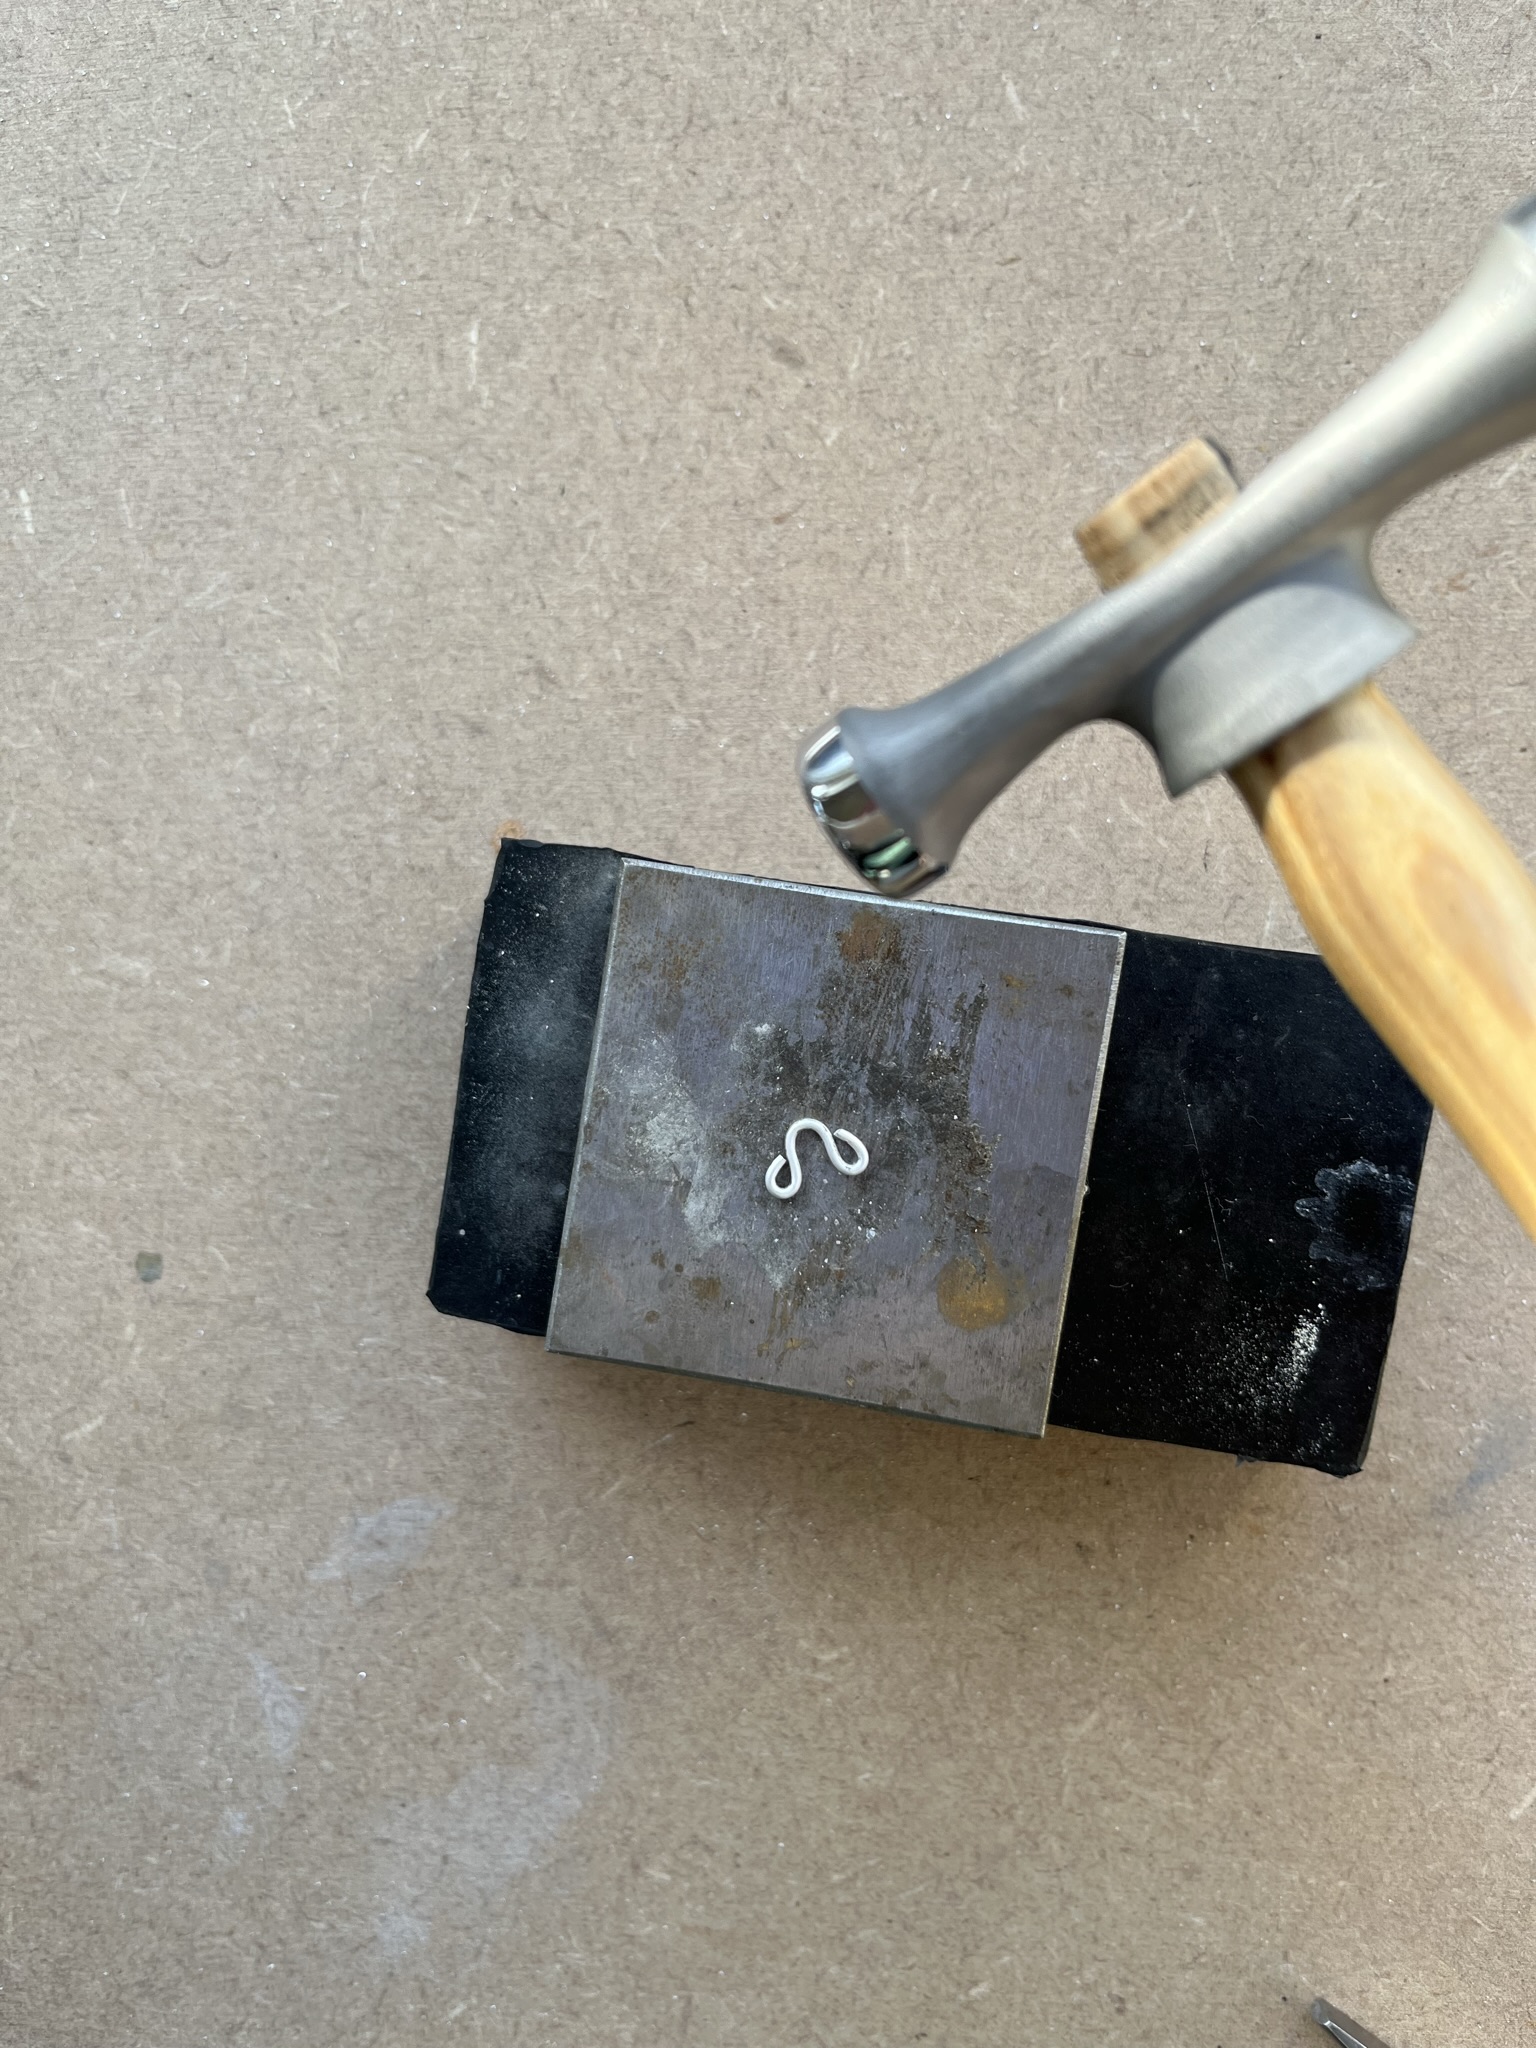
Step 11
Place the 1mm wire shape on a steel block and gently hammer until slightly flattened.
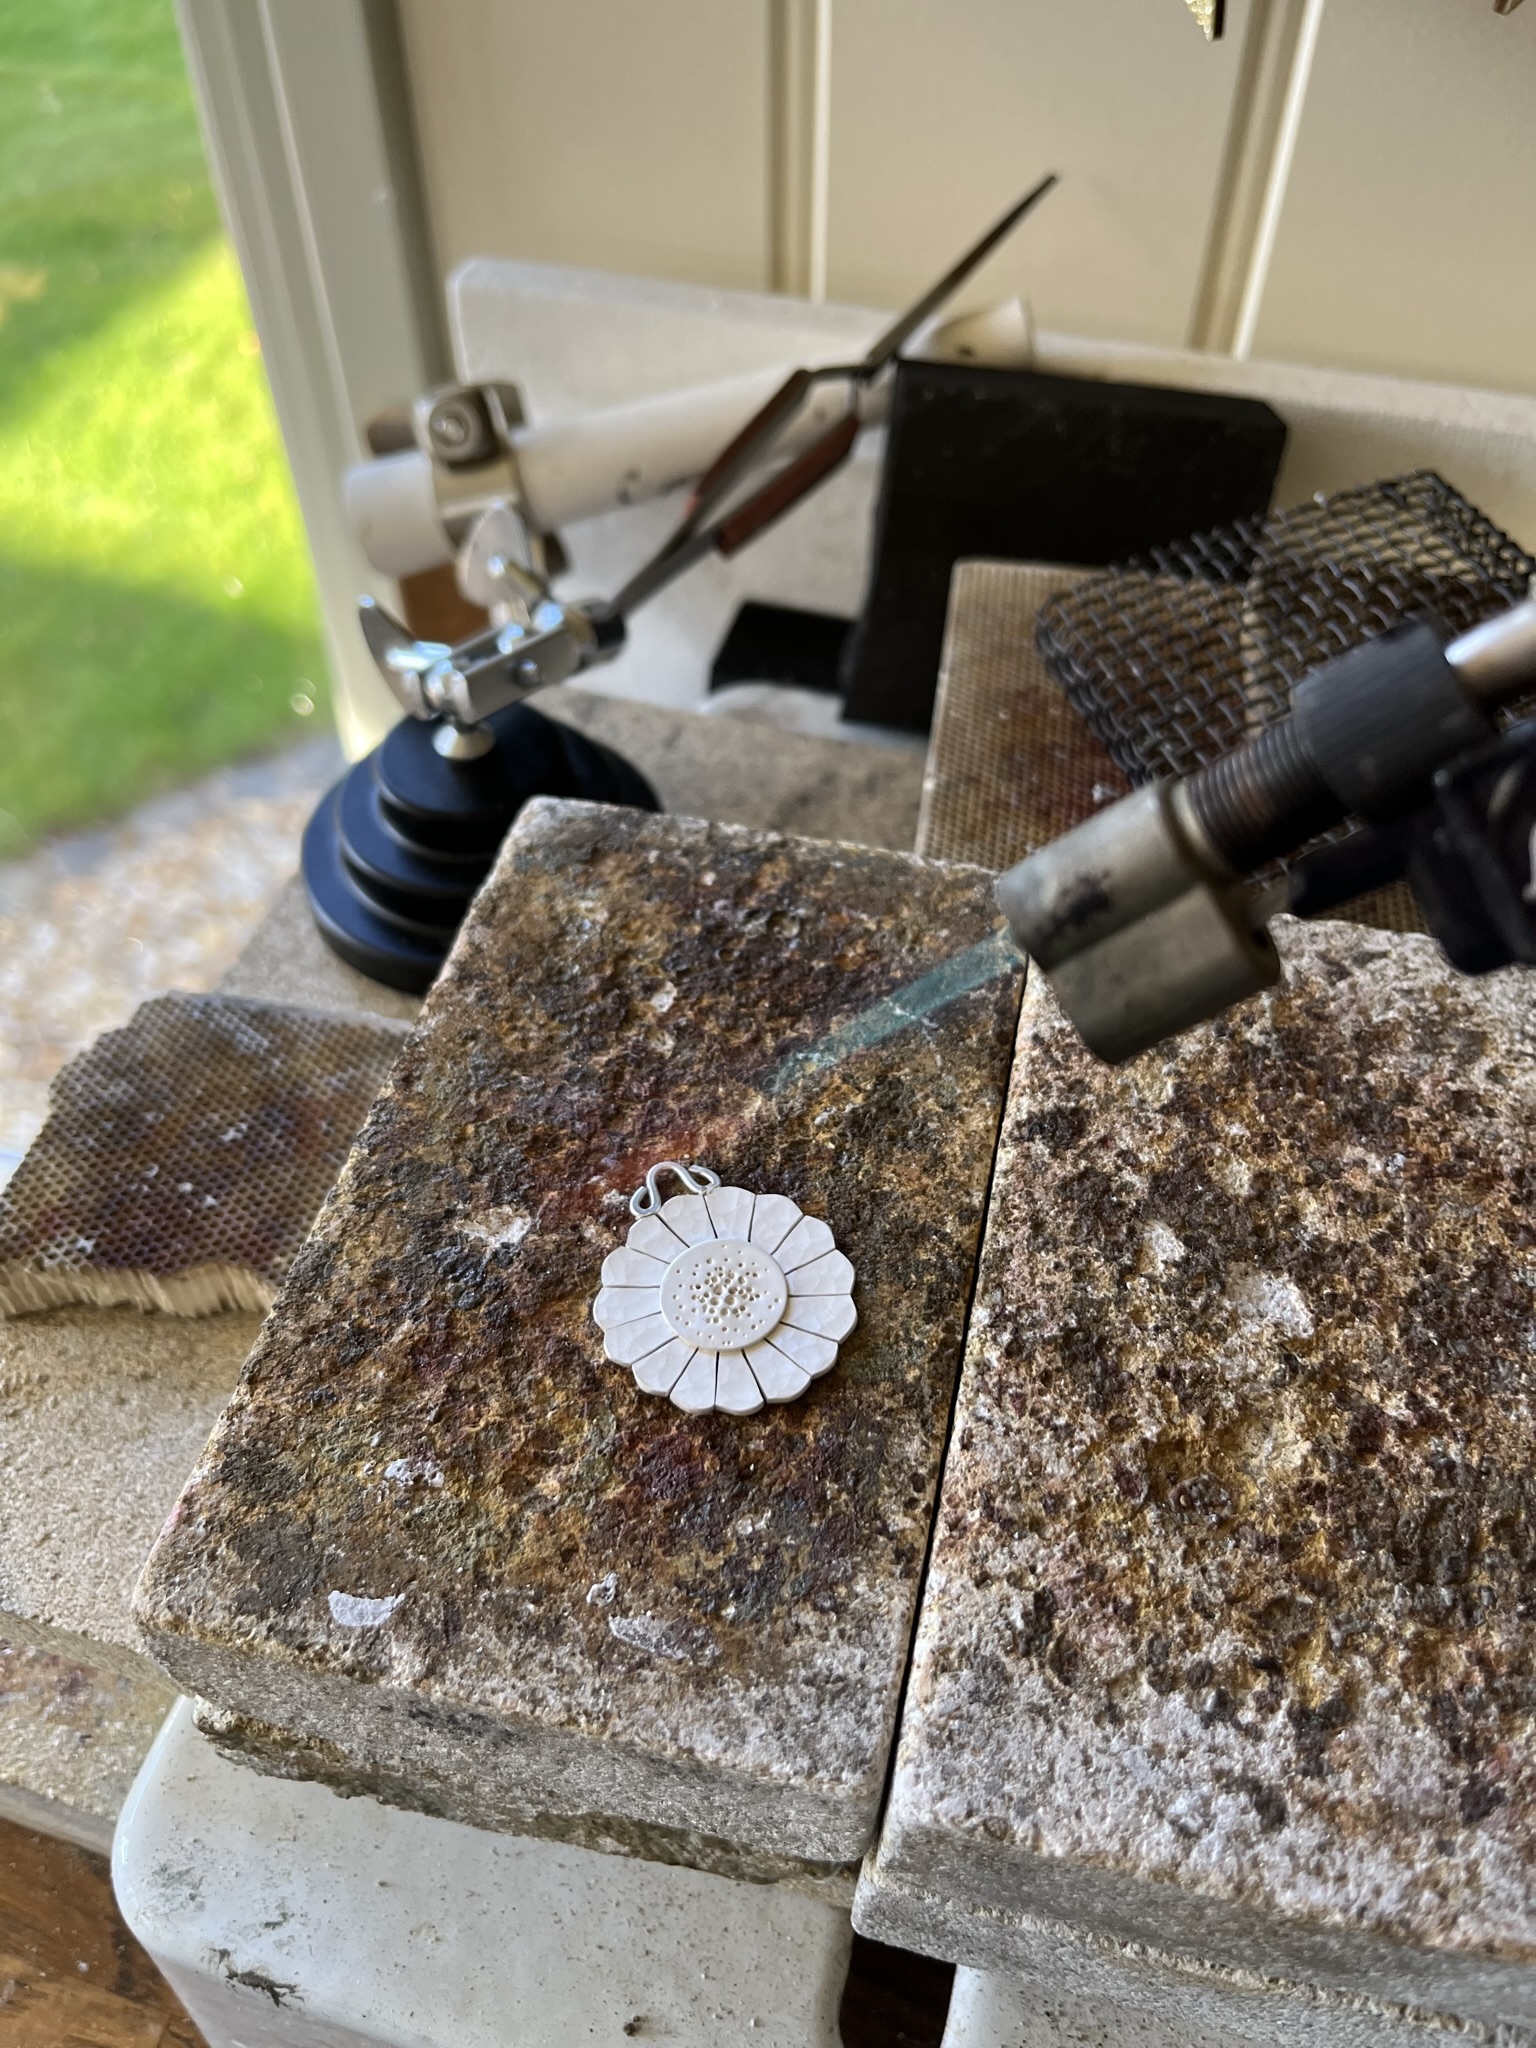
Step 12
Place the silver flower on a soldering block and put the 1mm wire bail flush against the edge of the petals. Add solder paste to where the wire meets the petals.
Using a hand blow torch heat the disc evenly first and then the wire. Heat both parts evenly until the solder melts and flows.
Leave to cool a little and then use tweezers to pick the flower and quench (cool) in water and then add to a warm safety pickle solution.
Tip: You could also use solder pallions to solder the wire bail to the flower shape.
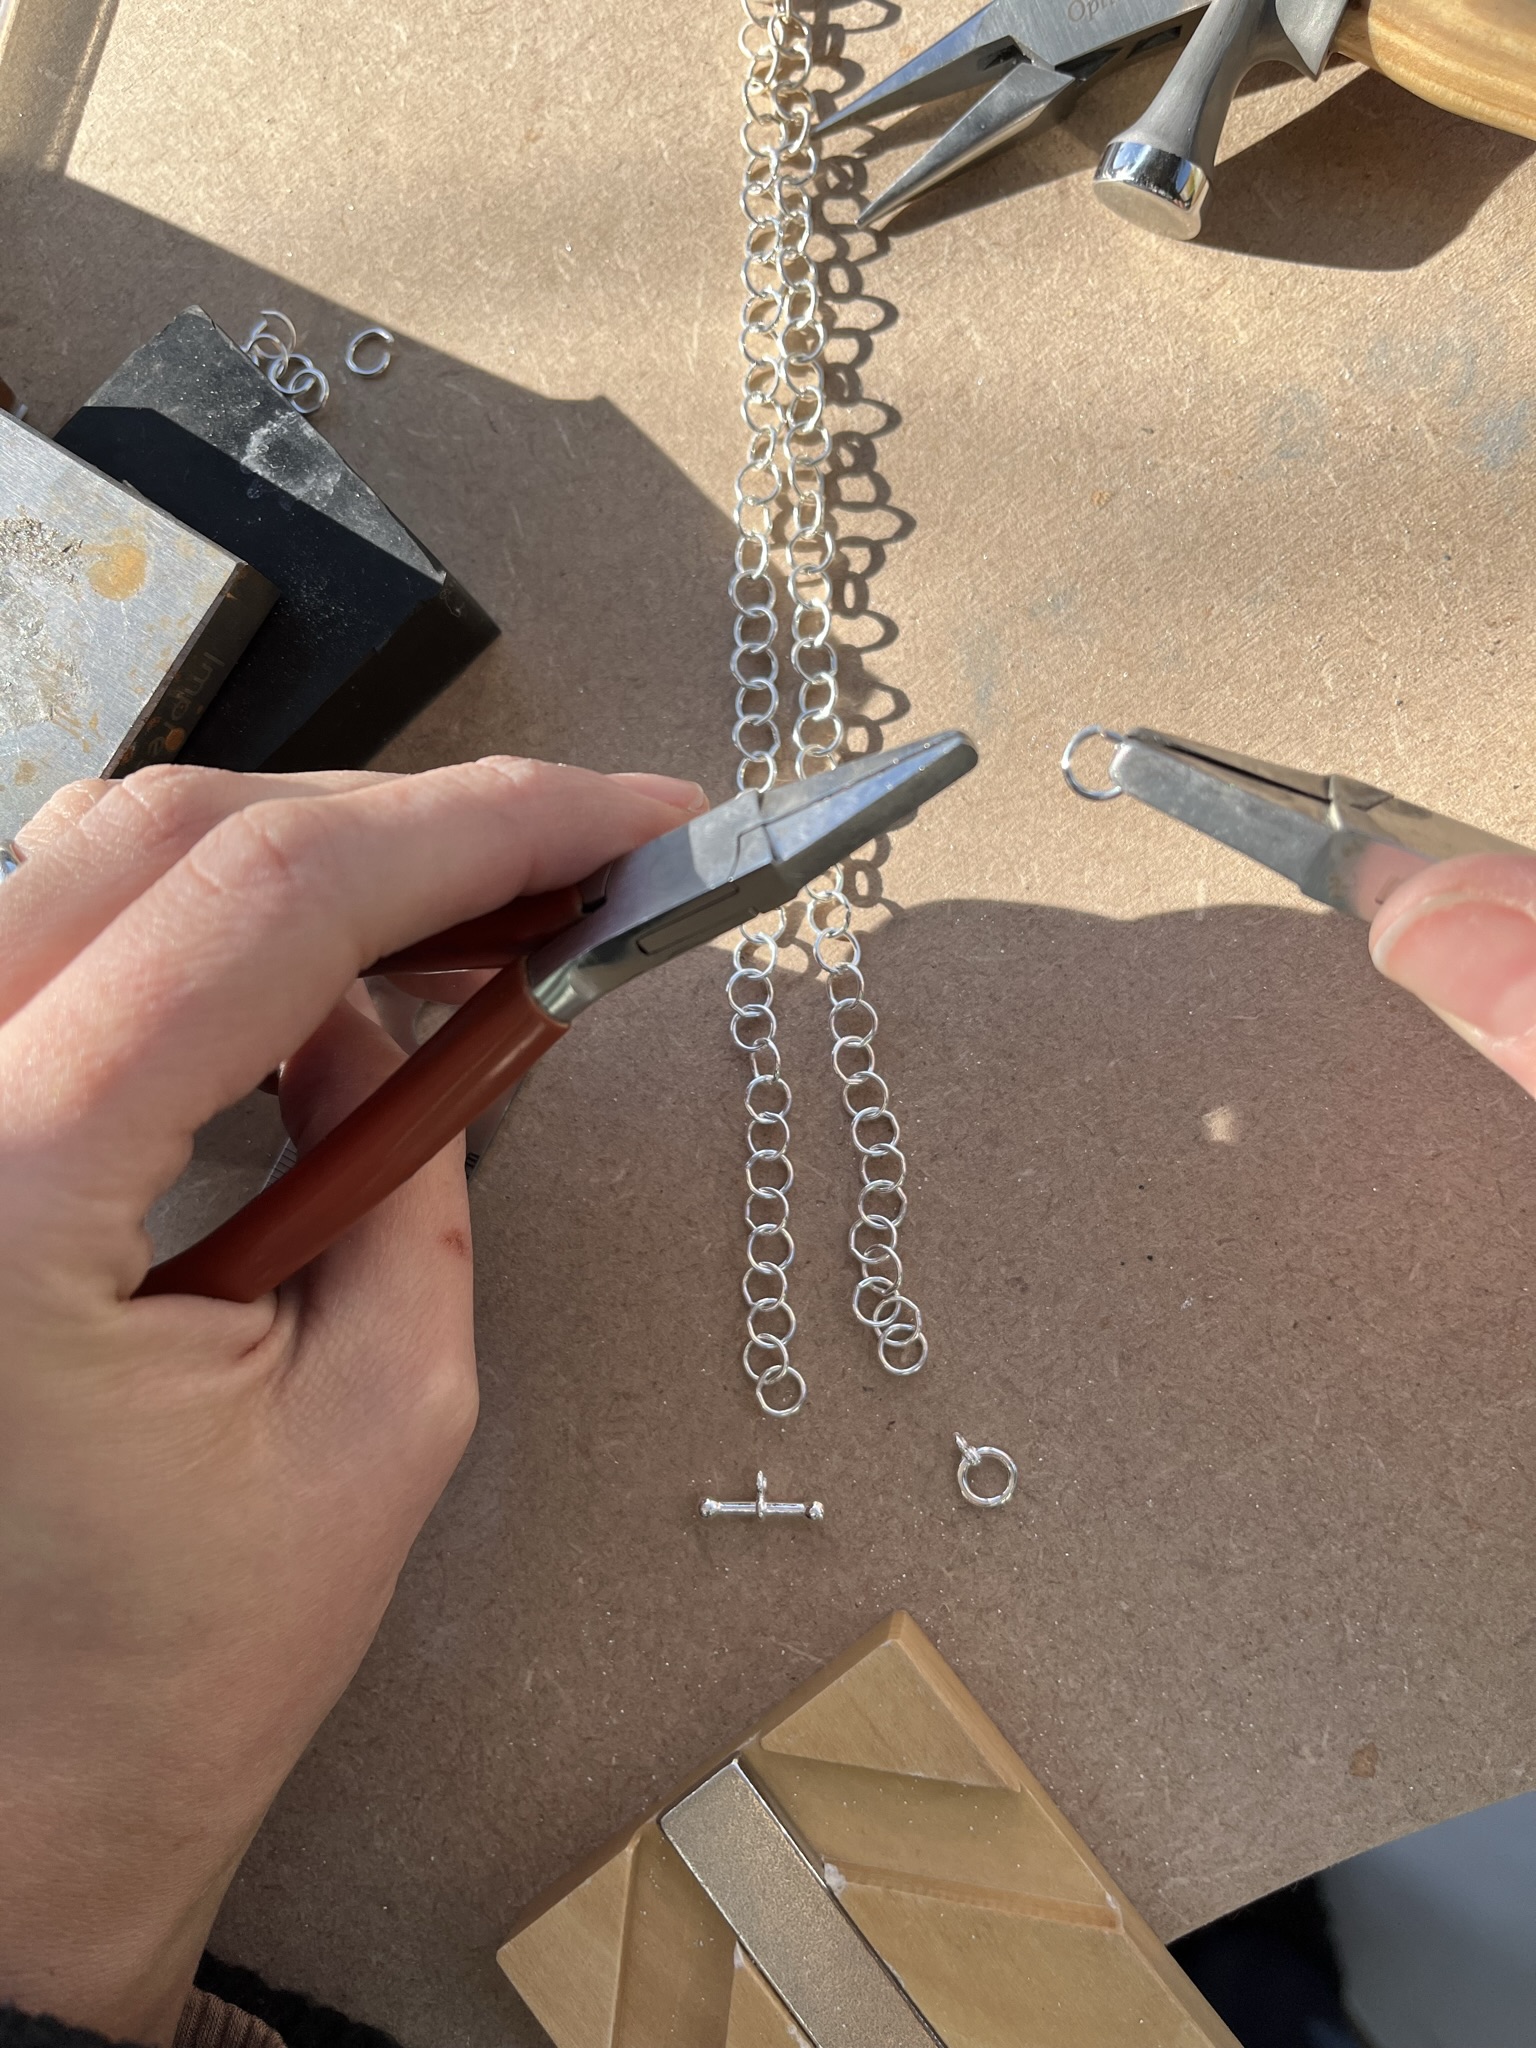
Step 13
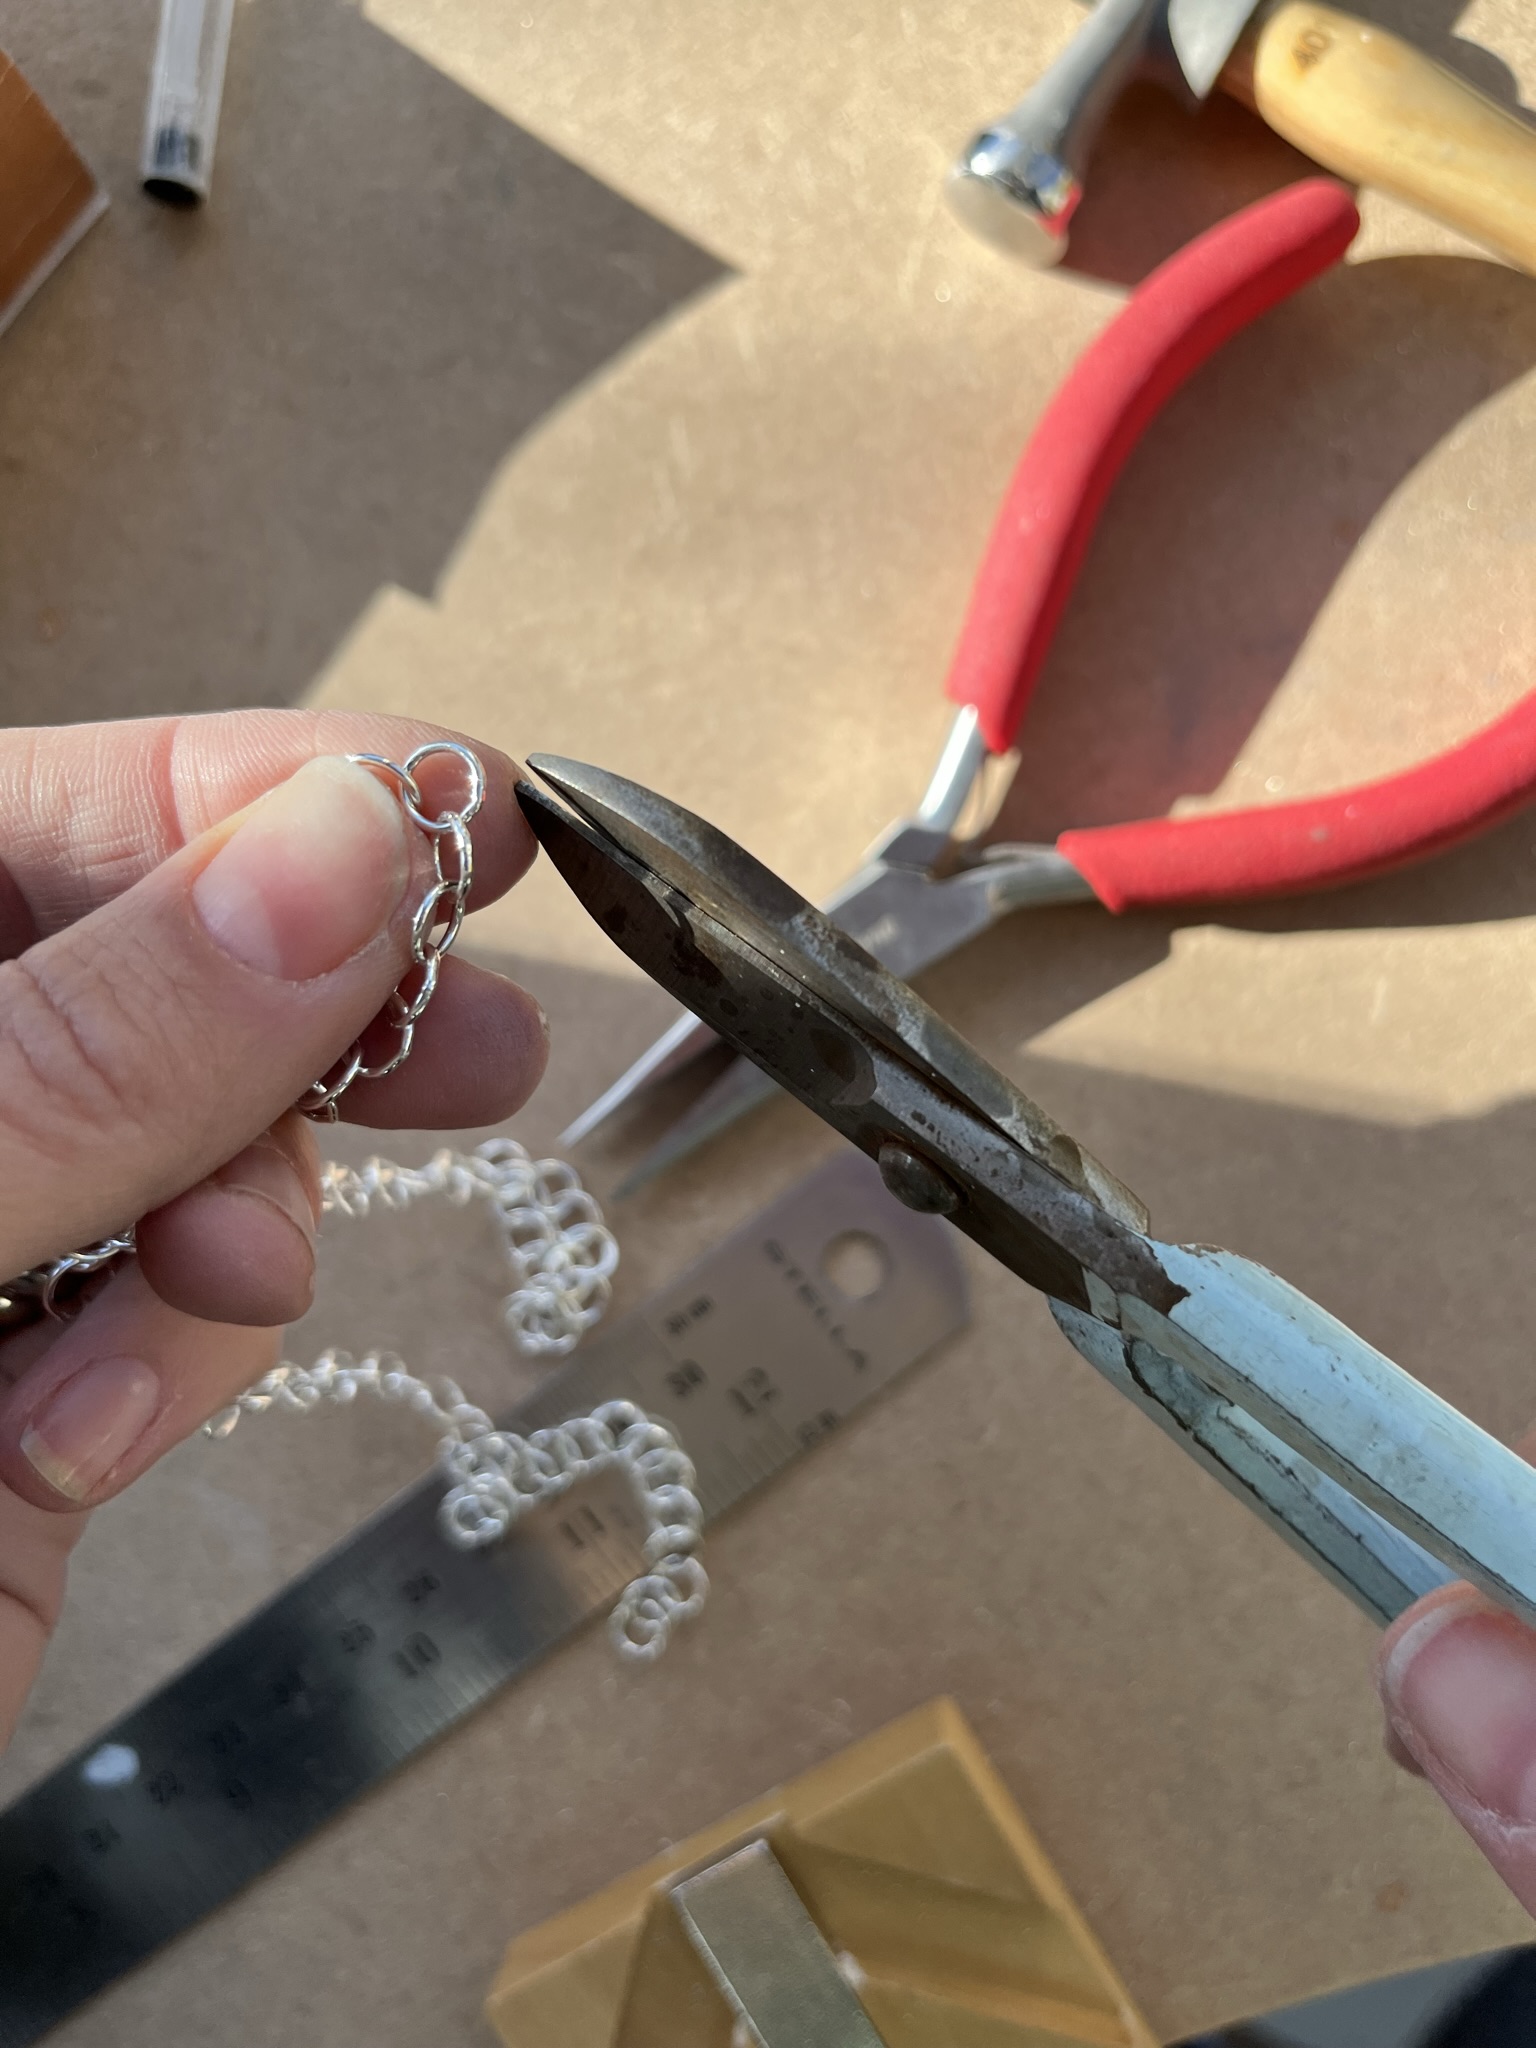
Cut the loose chain in half using wire cutters.
Step 14
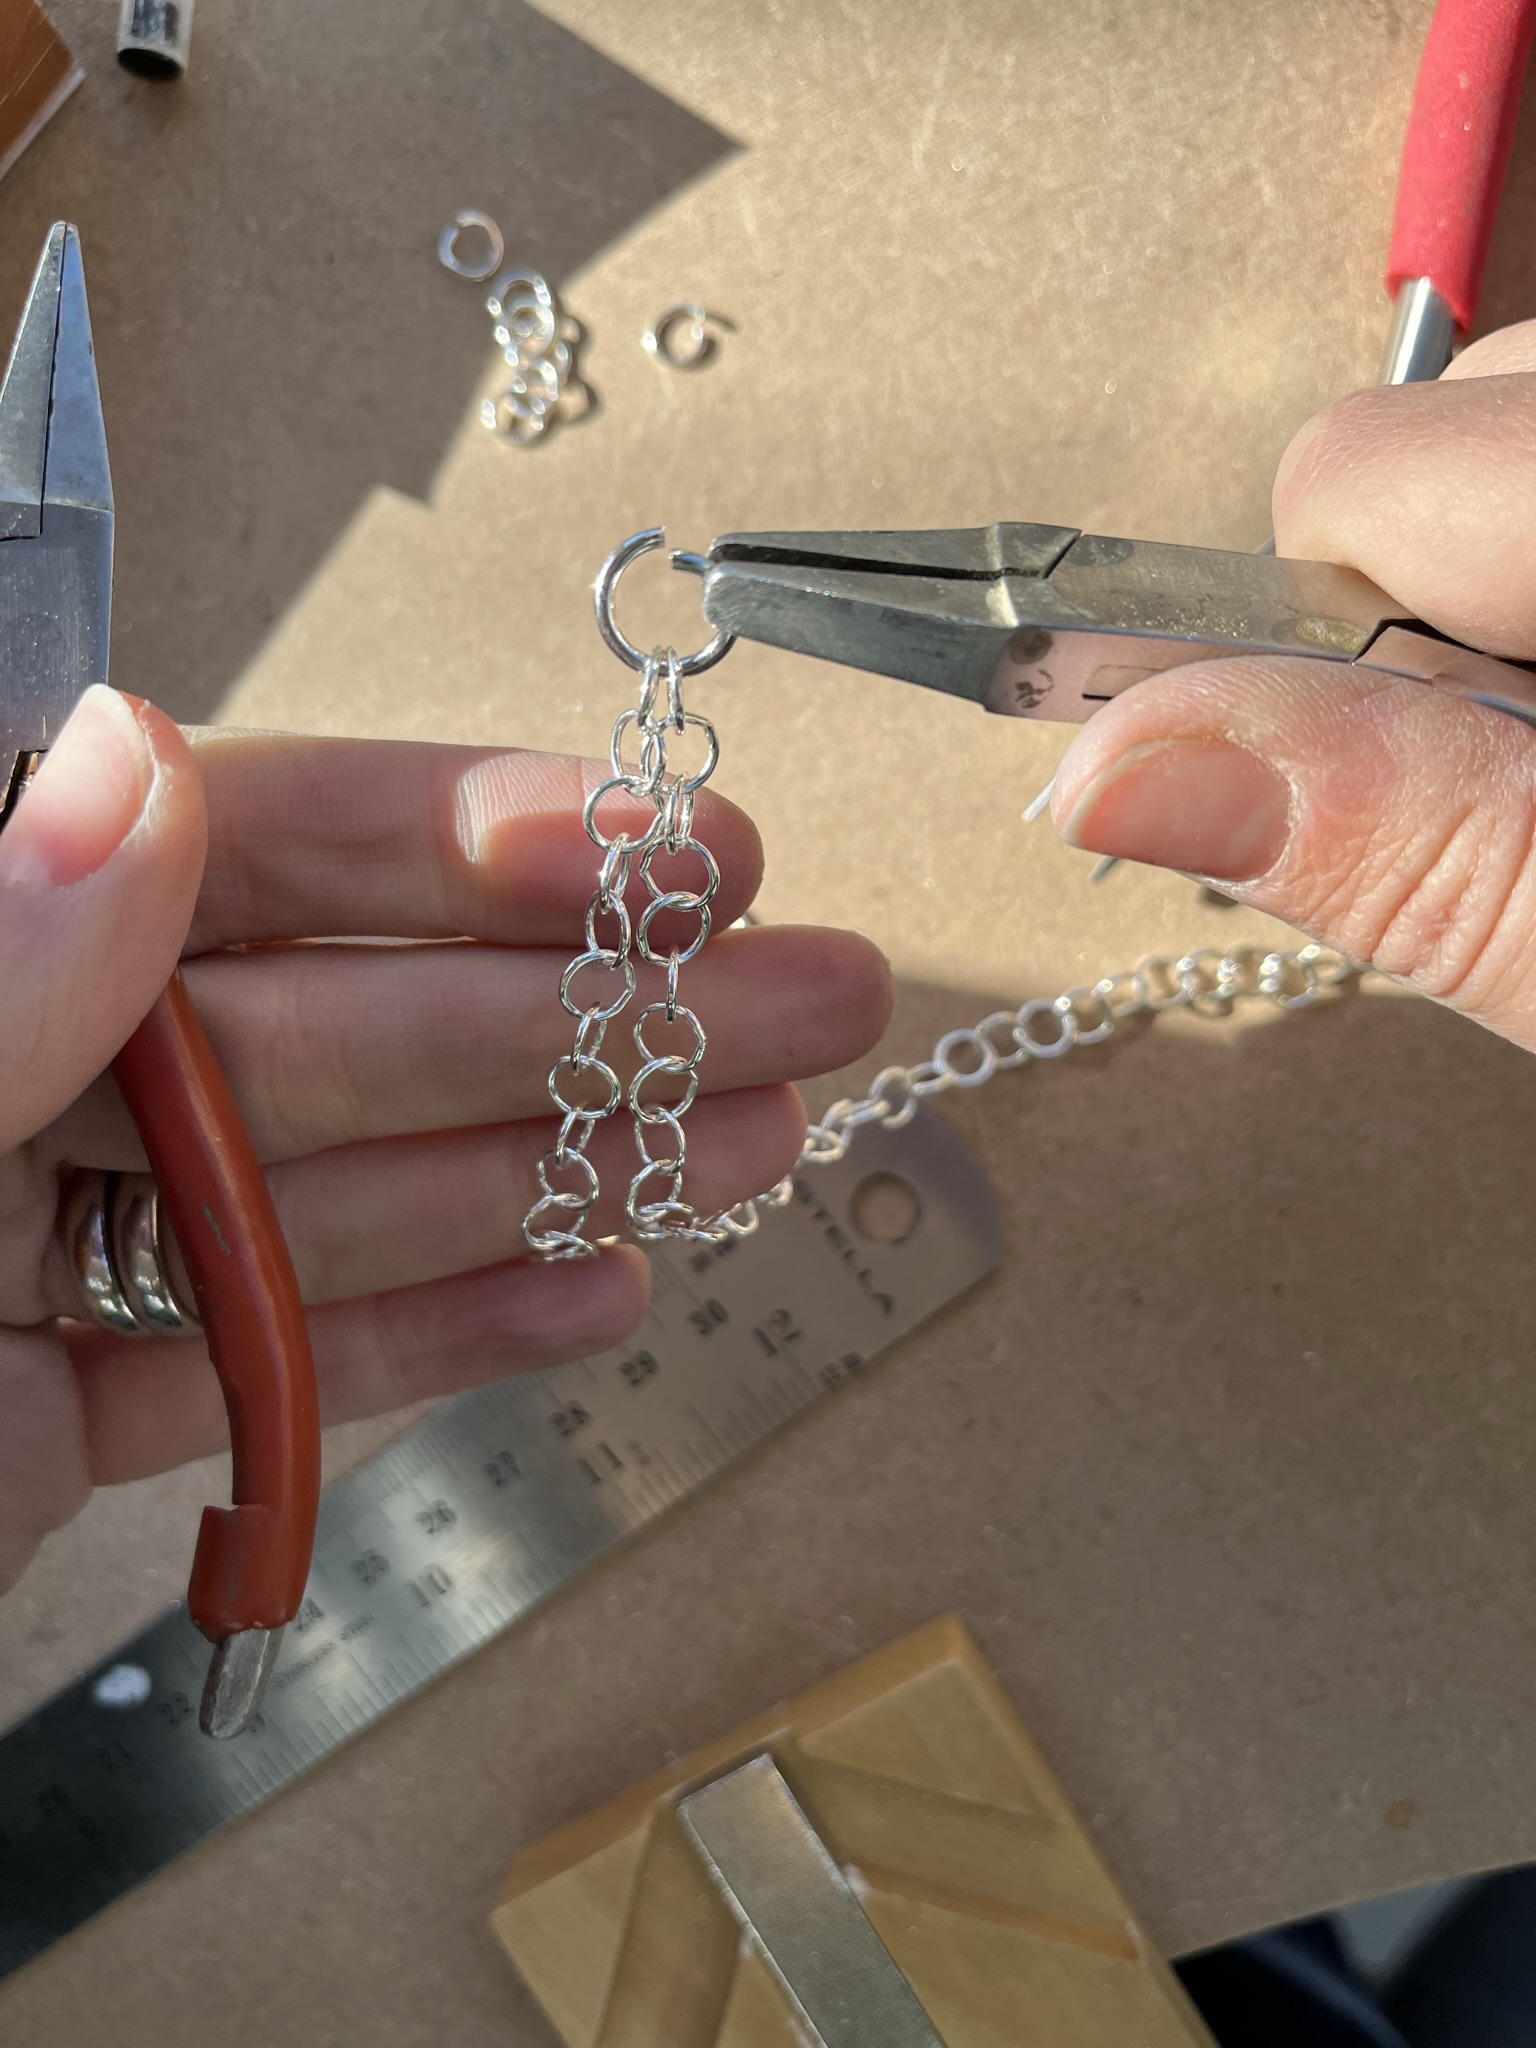
Open the 10mm jumpring by gripping each side of the hoop with snipe/chain nose or flat nose pliers and twisting in opposite directions.
Add both lengths of loose chain the 10mm jumpring.
Close the jumpring by gripping each side of the hoop with snipe/chain nose or flat nose pliers and twisting to bring both sides back together and flush.
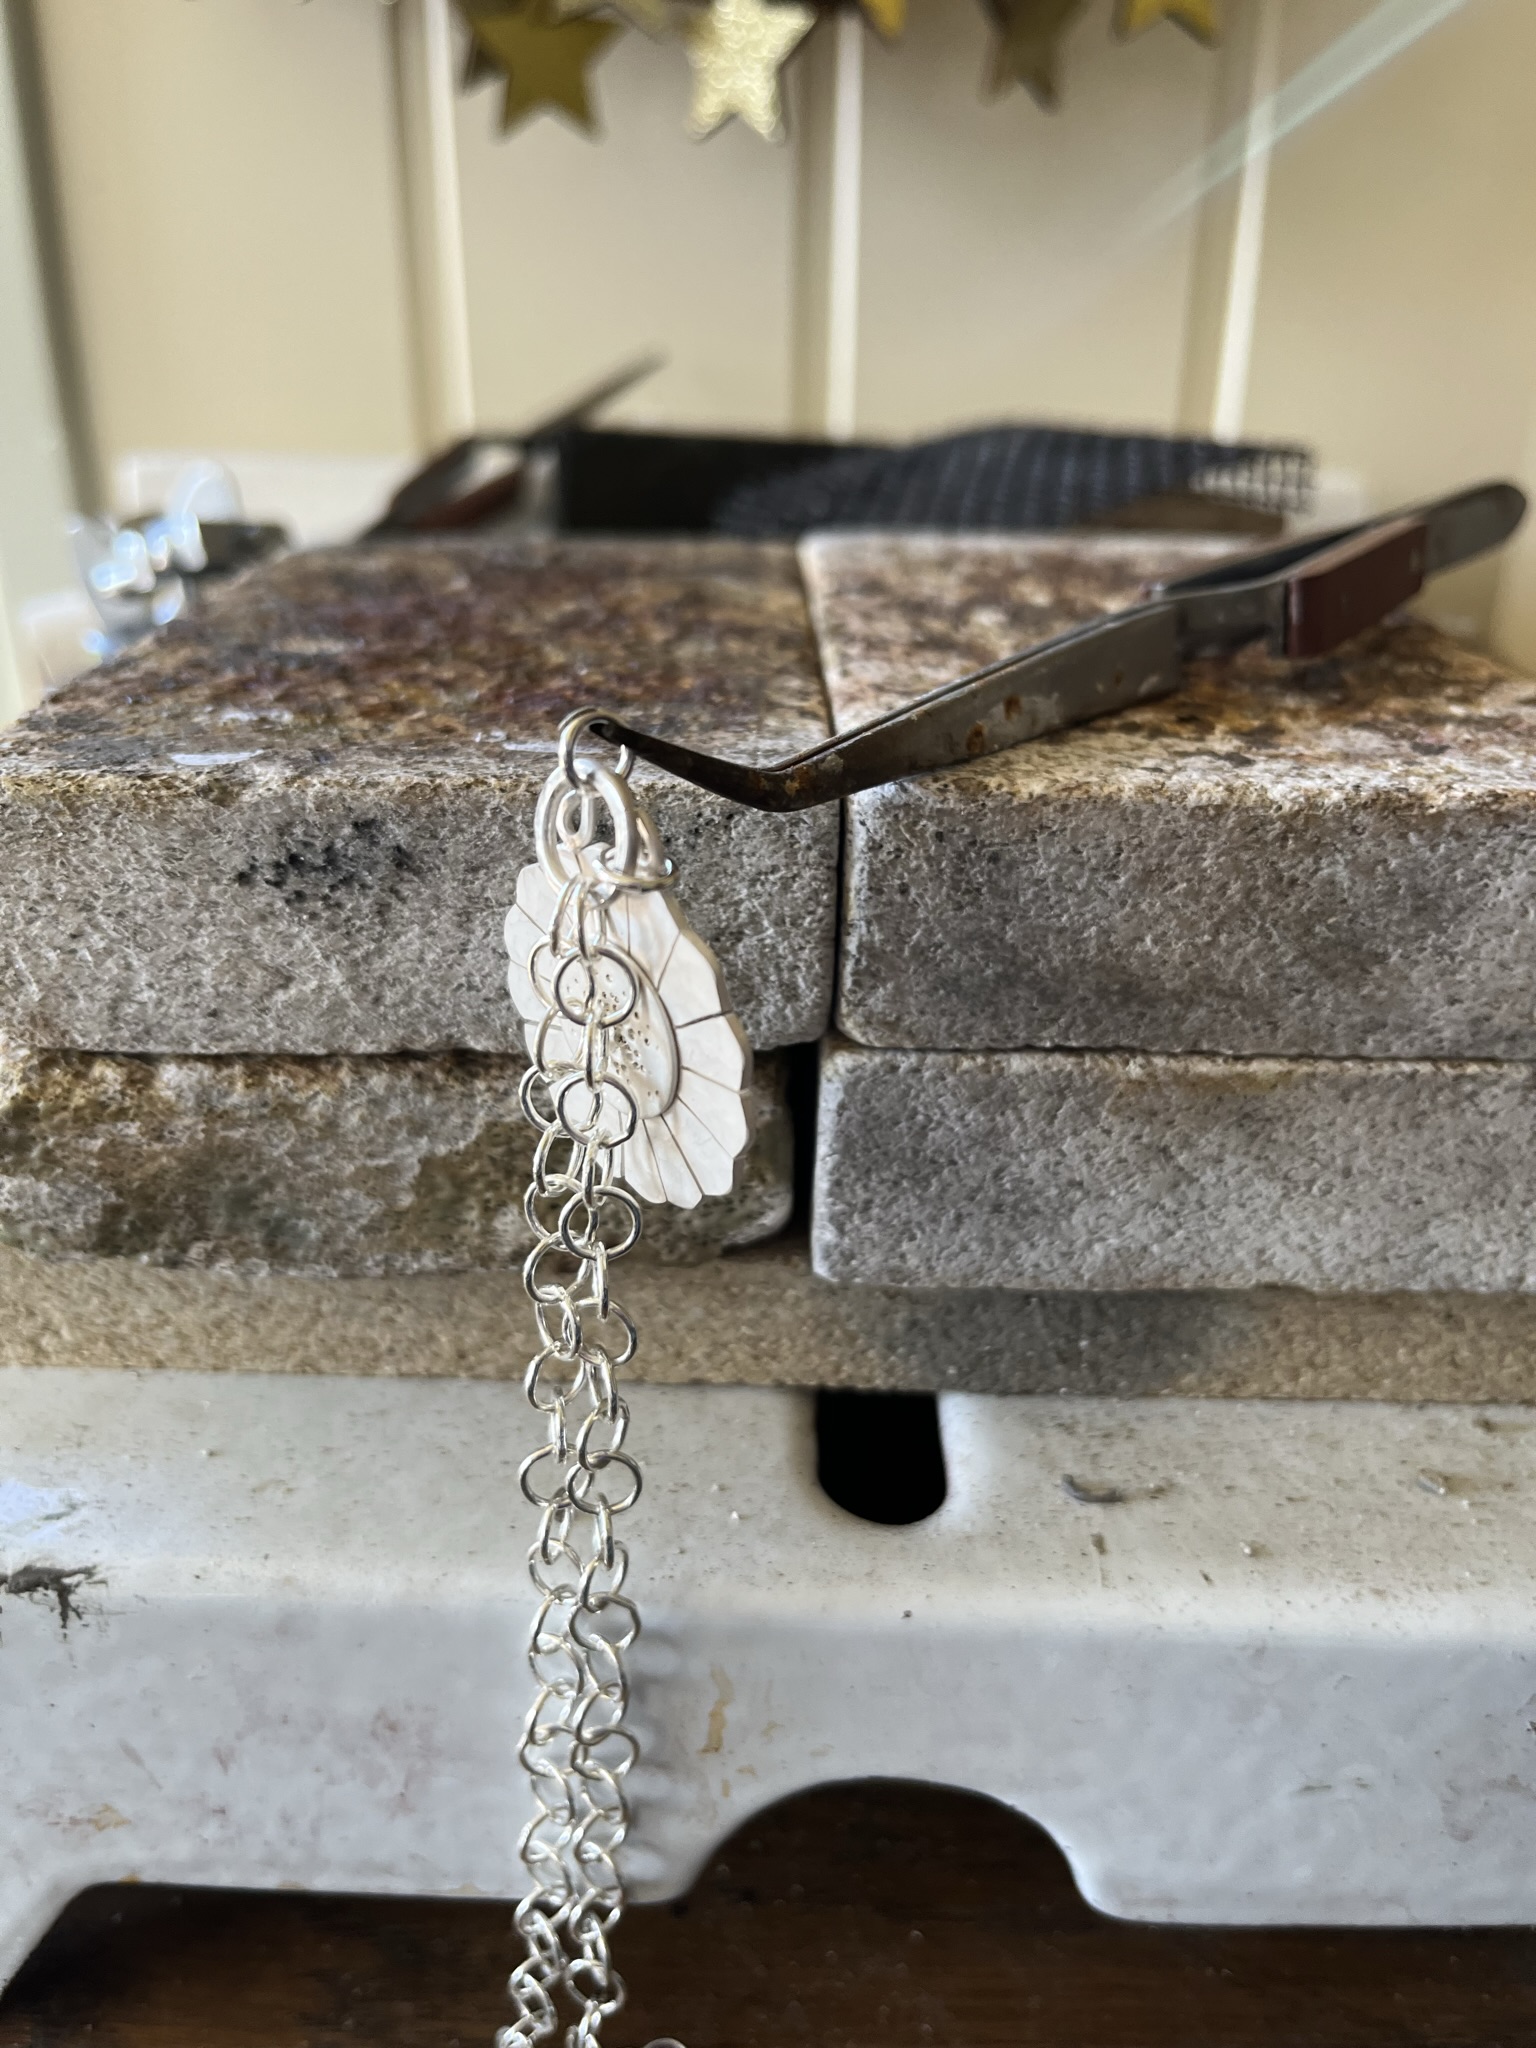
Step 15
Hold the 10mm jumpring in a third hand using reverse action tweezers. Add a little solder paste where the join is and heat evenly using a hand blow torch until the solder melts and flows. Ensure you do not heat the loose chain.
Leave to cool a little and then use tweezers to pick up the chain and quench (cool) in water and then add to a warm safety pickle solution.
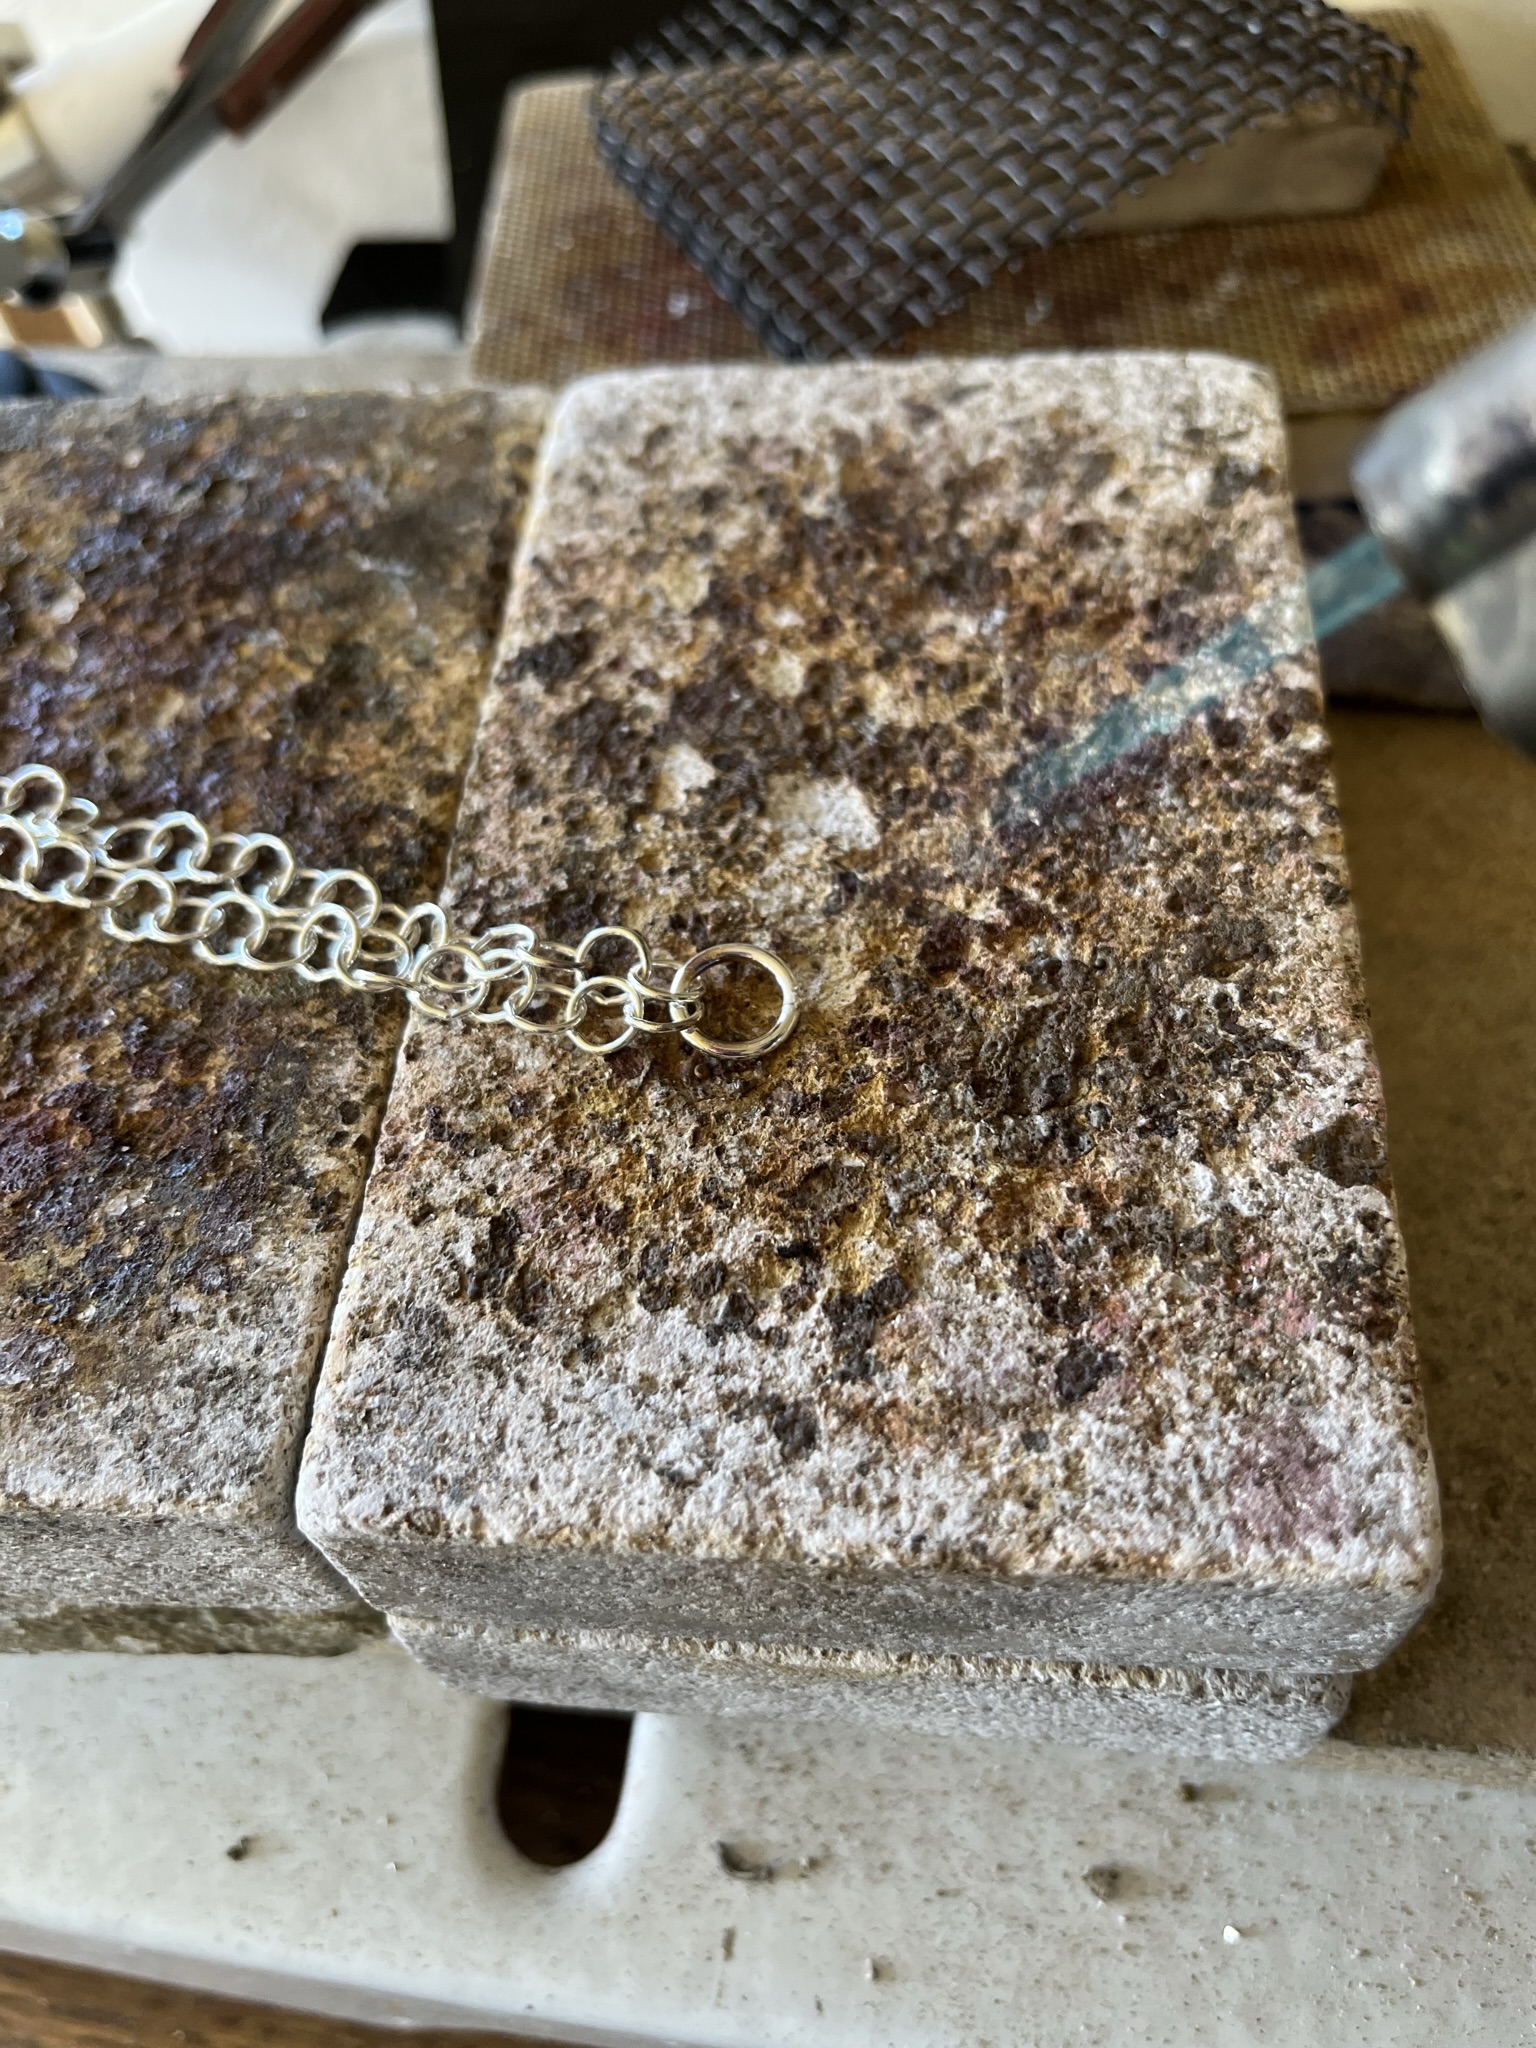
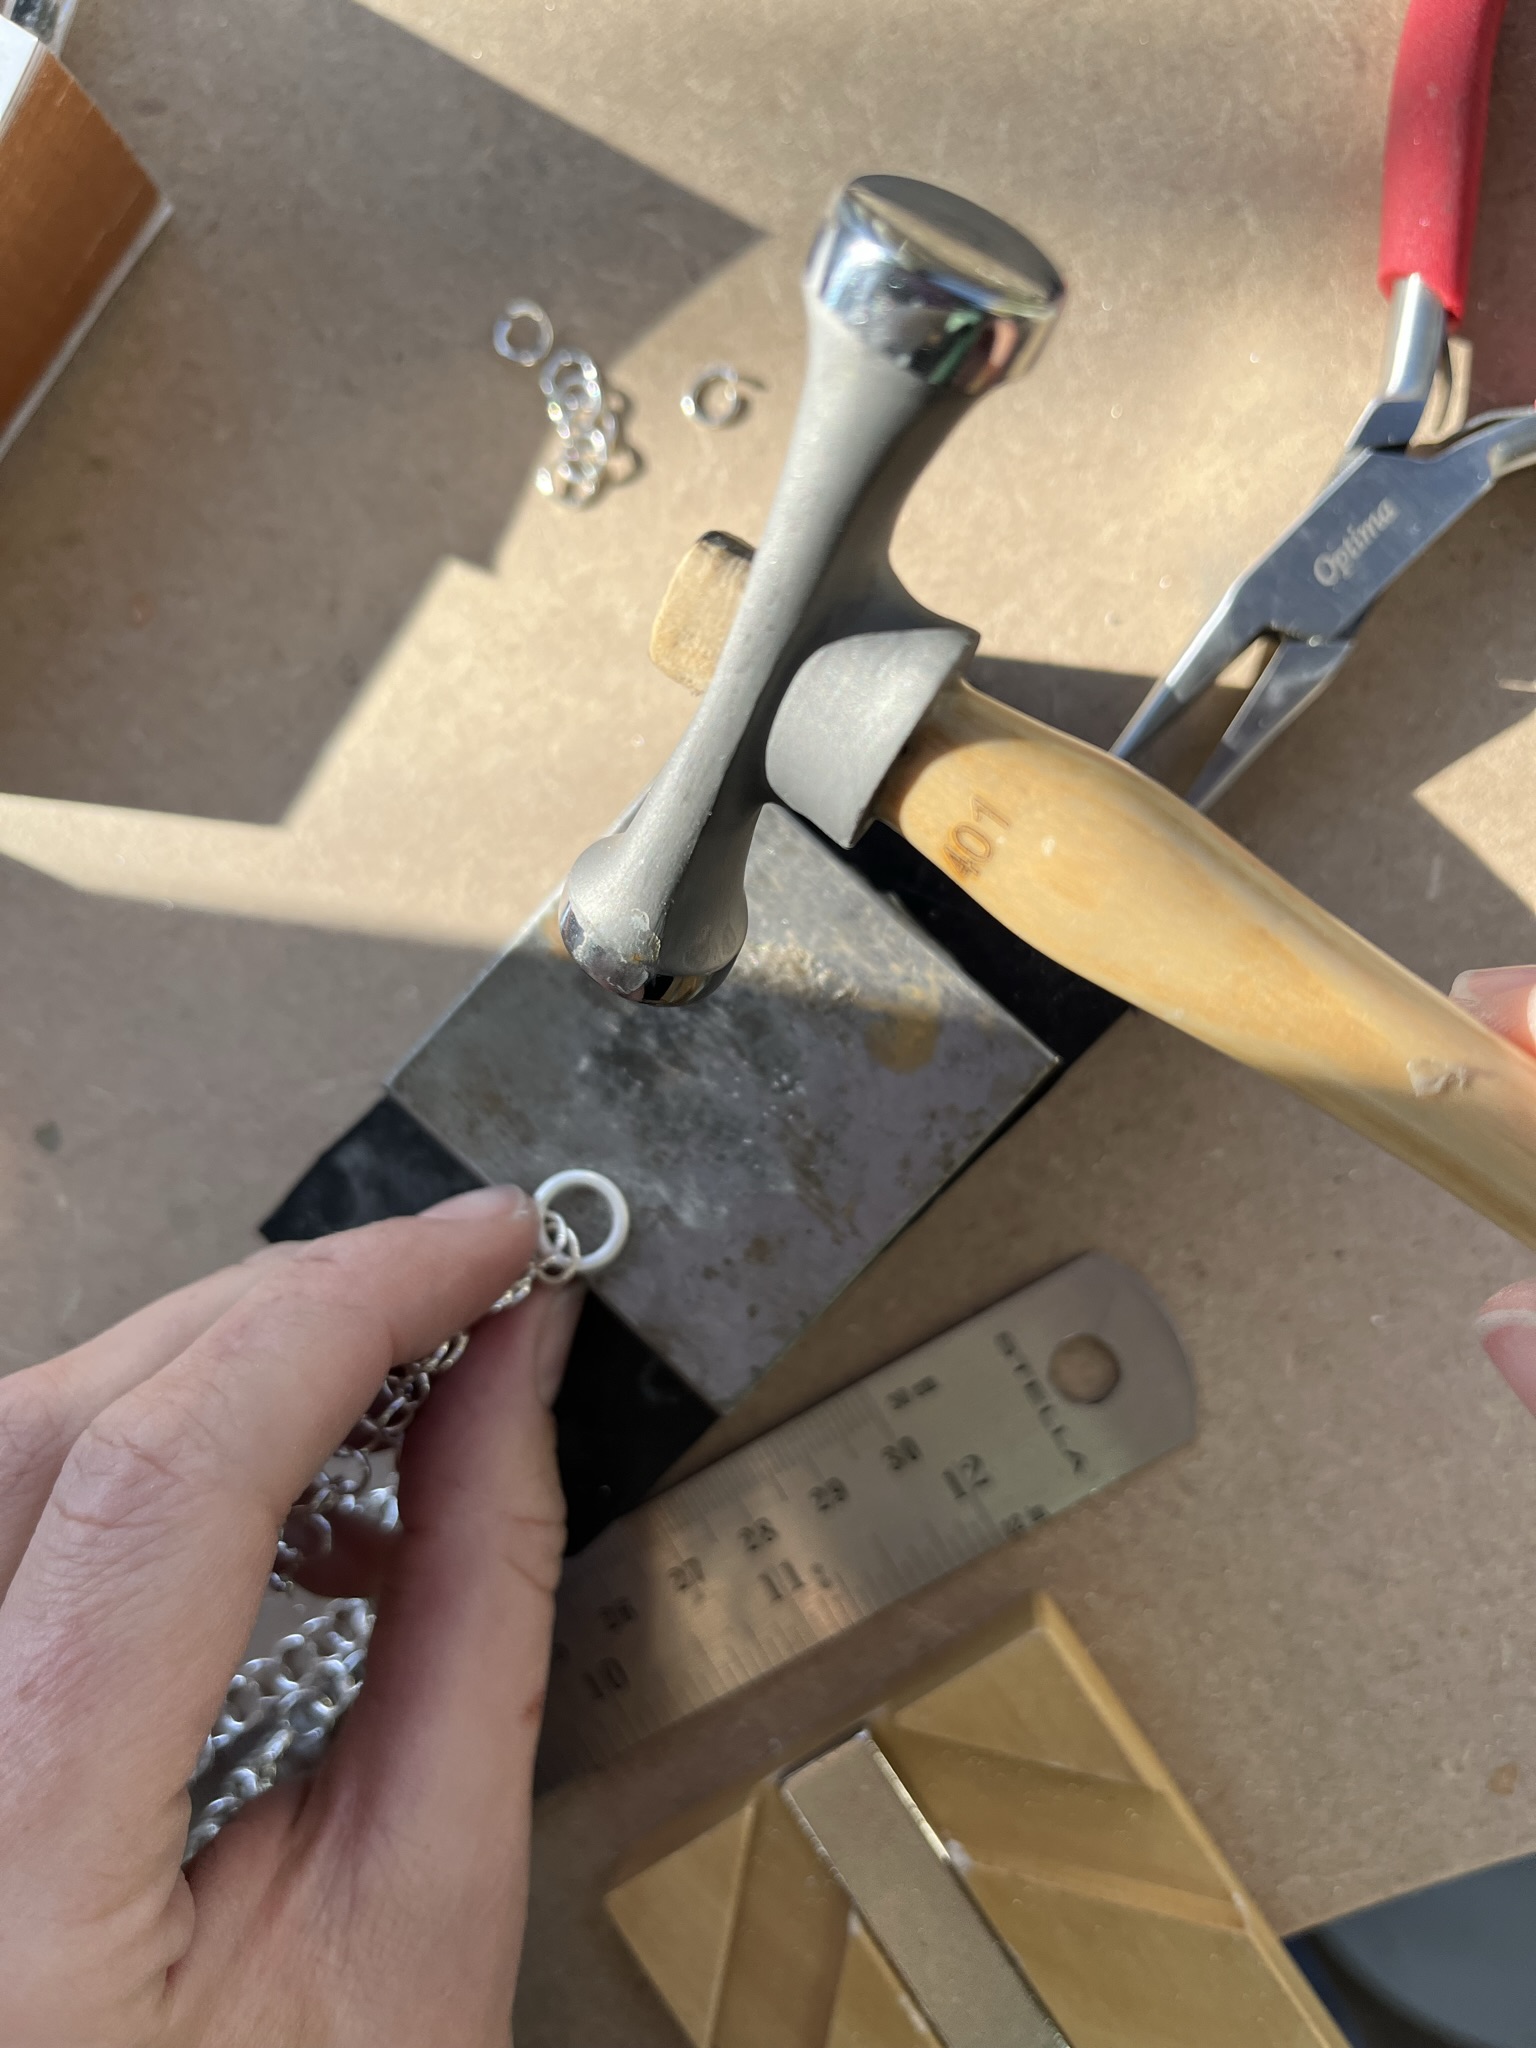
Step 16
Place the 10mm jumpring onto a steel block with the loose chain hanging over the side. Use a ball hammer to add texture to the 10mm jumpring.
Step 17
Take 2 6mm jumprings. Open each jumpring by gripping each side of the hoop with snipe/chain nose or flat nose pliers and twisting in opposite directions.
Use the 2 x 6mm jumprings to attach the flower to the 10mm jumpring.
Close each jumpring by gripping each side of the hoop with snipe/chain nose or flat nose pliers and twisting to bring both sides back together and flush.

Step 18
Solder each 6mm jumpring ring closed 1 at a time.
Hold the 6mm jumpring in a third hand using reverse action tweezers. Add a little solder paste where the join is and heat evenly using a hand blow torch until the solder melts and flows.
Leave to cool a little and then use tweezers to pick up the chain and quench (cool) in water.
Repeat for the 2nd 6mm jumpring.
Leave to cool a little and then use tweezers to pick up the chain and quench (cool) in water and then add to a warm safety pickle solution.
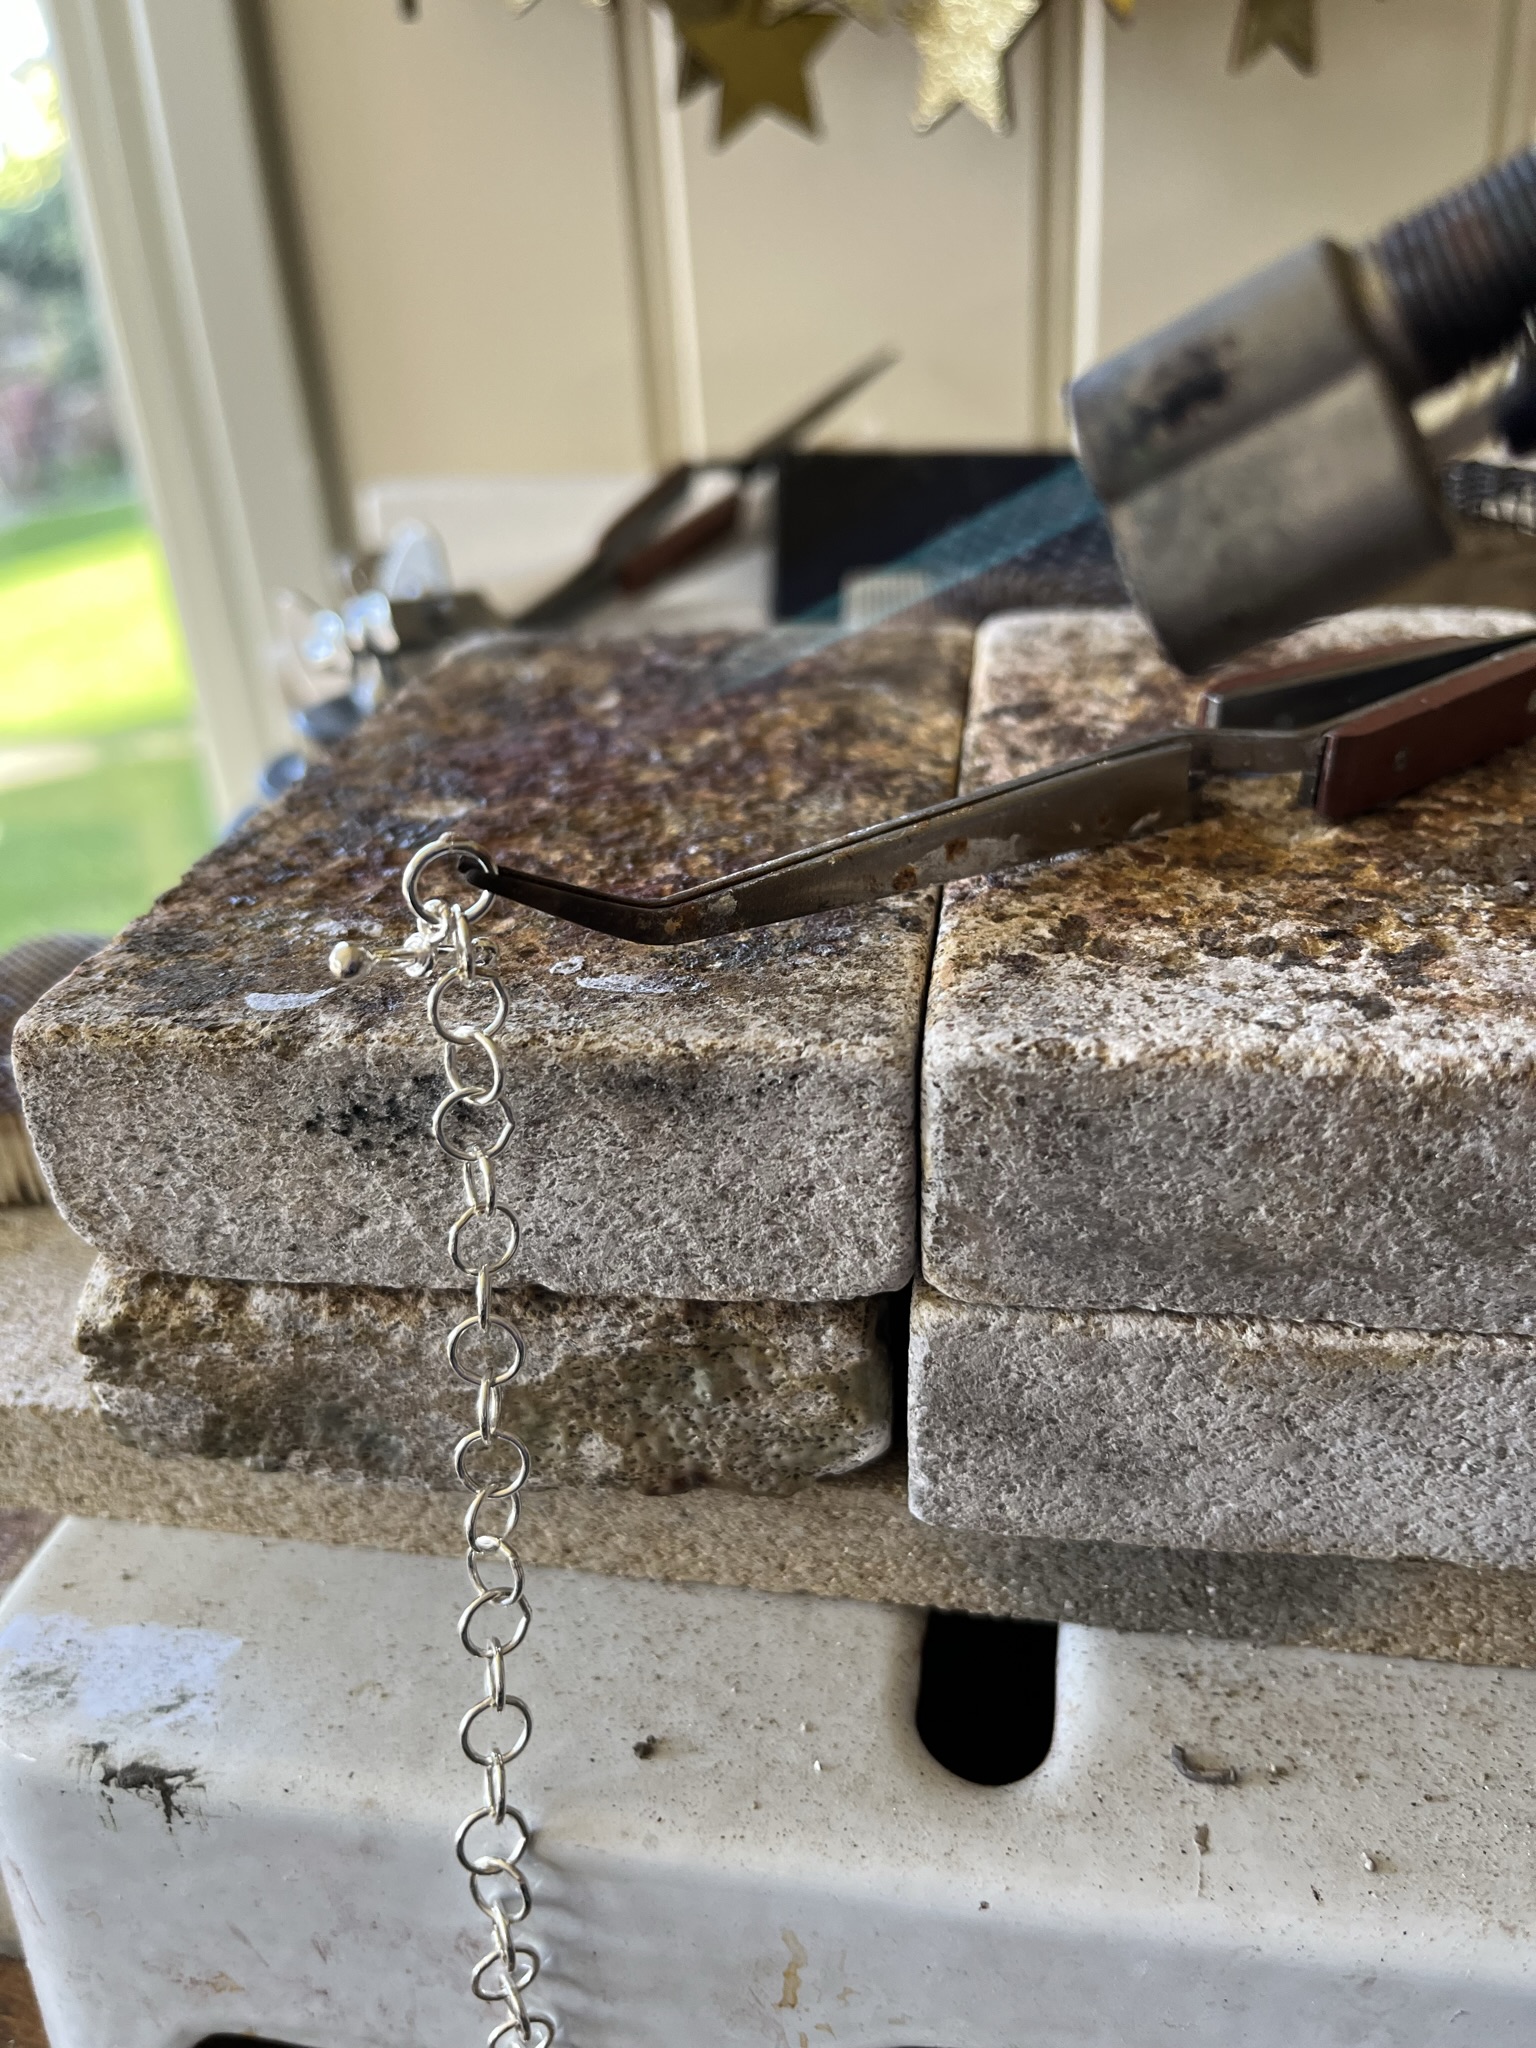
Step 19
Add the toggle clasp by opening 2 x 6mm jumprings.
Open each jumpring by gripping each side of the hoop with snipe/chain nose or flat nose pliers and twisting in opposite directions.
Thread one part of the toggle clasp on a 6mm jumpring and then to the end of the chain.
Close the jumpring by gripping each side of the hoop with snipe/chain nose or flat nose pliers and twisting to bring both sides back together and flush.
Repeat on the other side of the chain so both toggle clasps are attached.
Step 20
Solder each 6mm jumpring ring closed 1 at a time.
Hold the 6mm jump ring in a third hand using reverse action tweezers. Add a little solder paste where the join is and heat evenly using a hand blow torch until the solder melts and flows.
Leave to cool a little and then use tweezers to pick up the chain and quench (cool) in water.
Repeat for the 2nd 6mm jumpring.
Leave to cool a little and then use tweezers to pick up the chain and quench (cool) in water and then add to a warm safety pickle solution.
Step 21
Use a silver polish cloth to add shine or add to a barrel/tumble polisher with water and barrelbrite according to the instructions.

Sian Brown
Sian has been hand making her award winning jewellery in the West Midlands for over 12 years. Sian spent 10 years in Birmingham’s historic Jewellery Quarter before relocating to a quiet Worcestershire village.